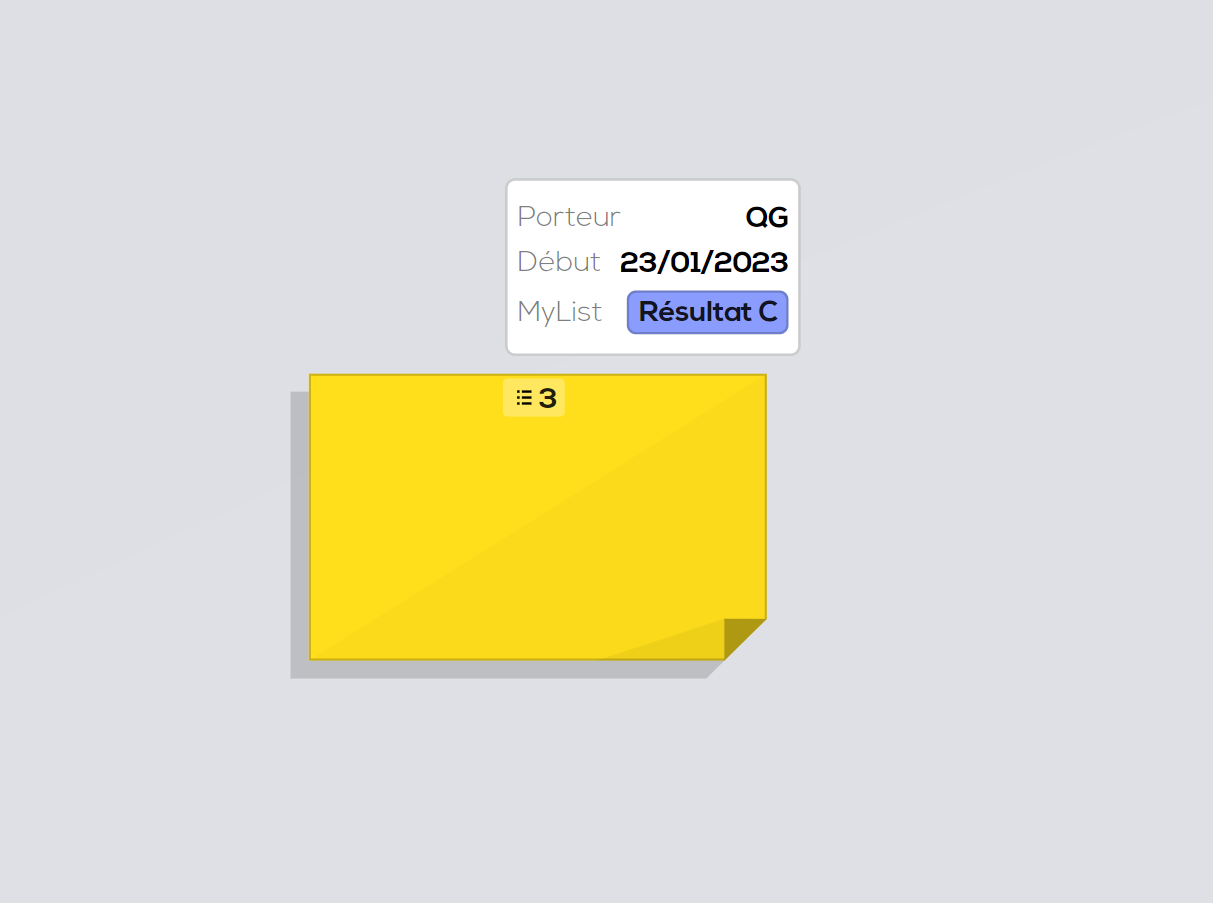
Create a list field.
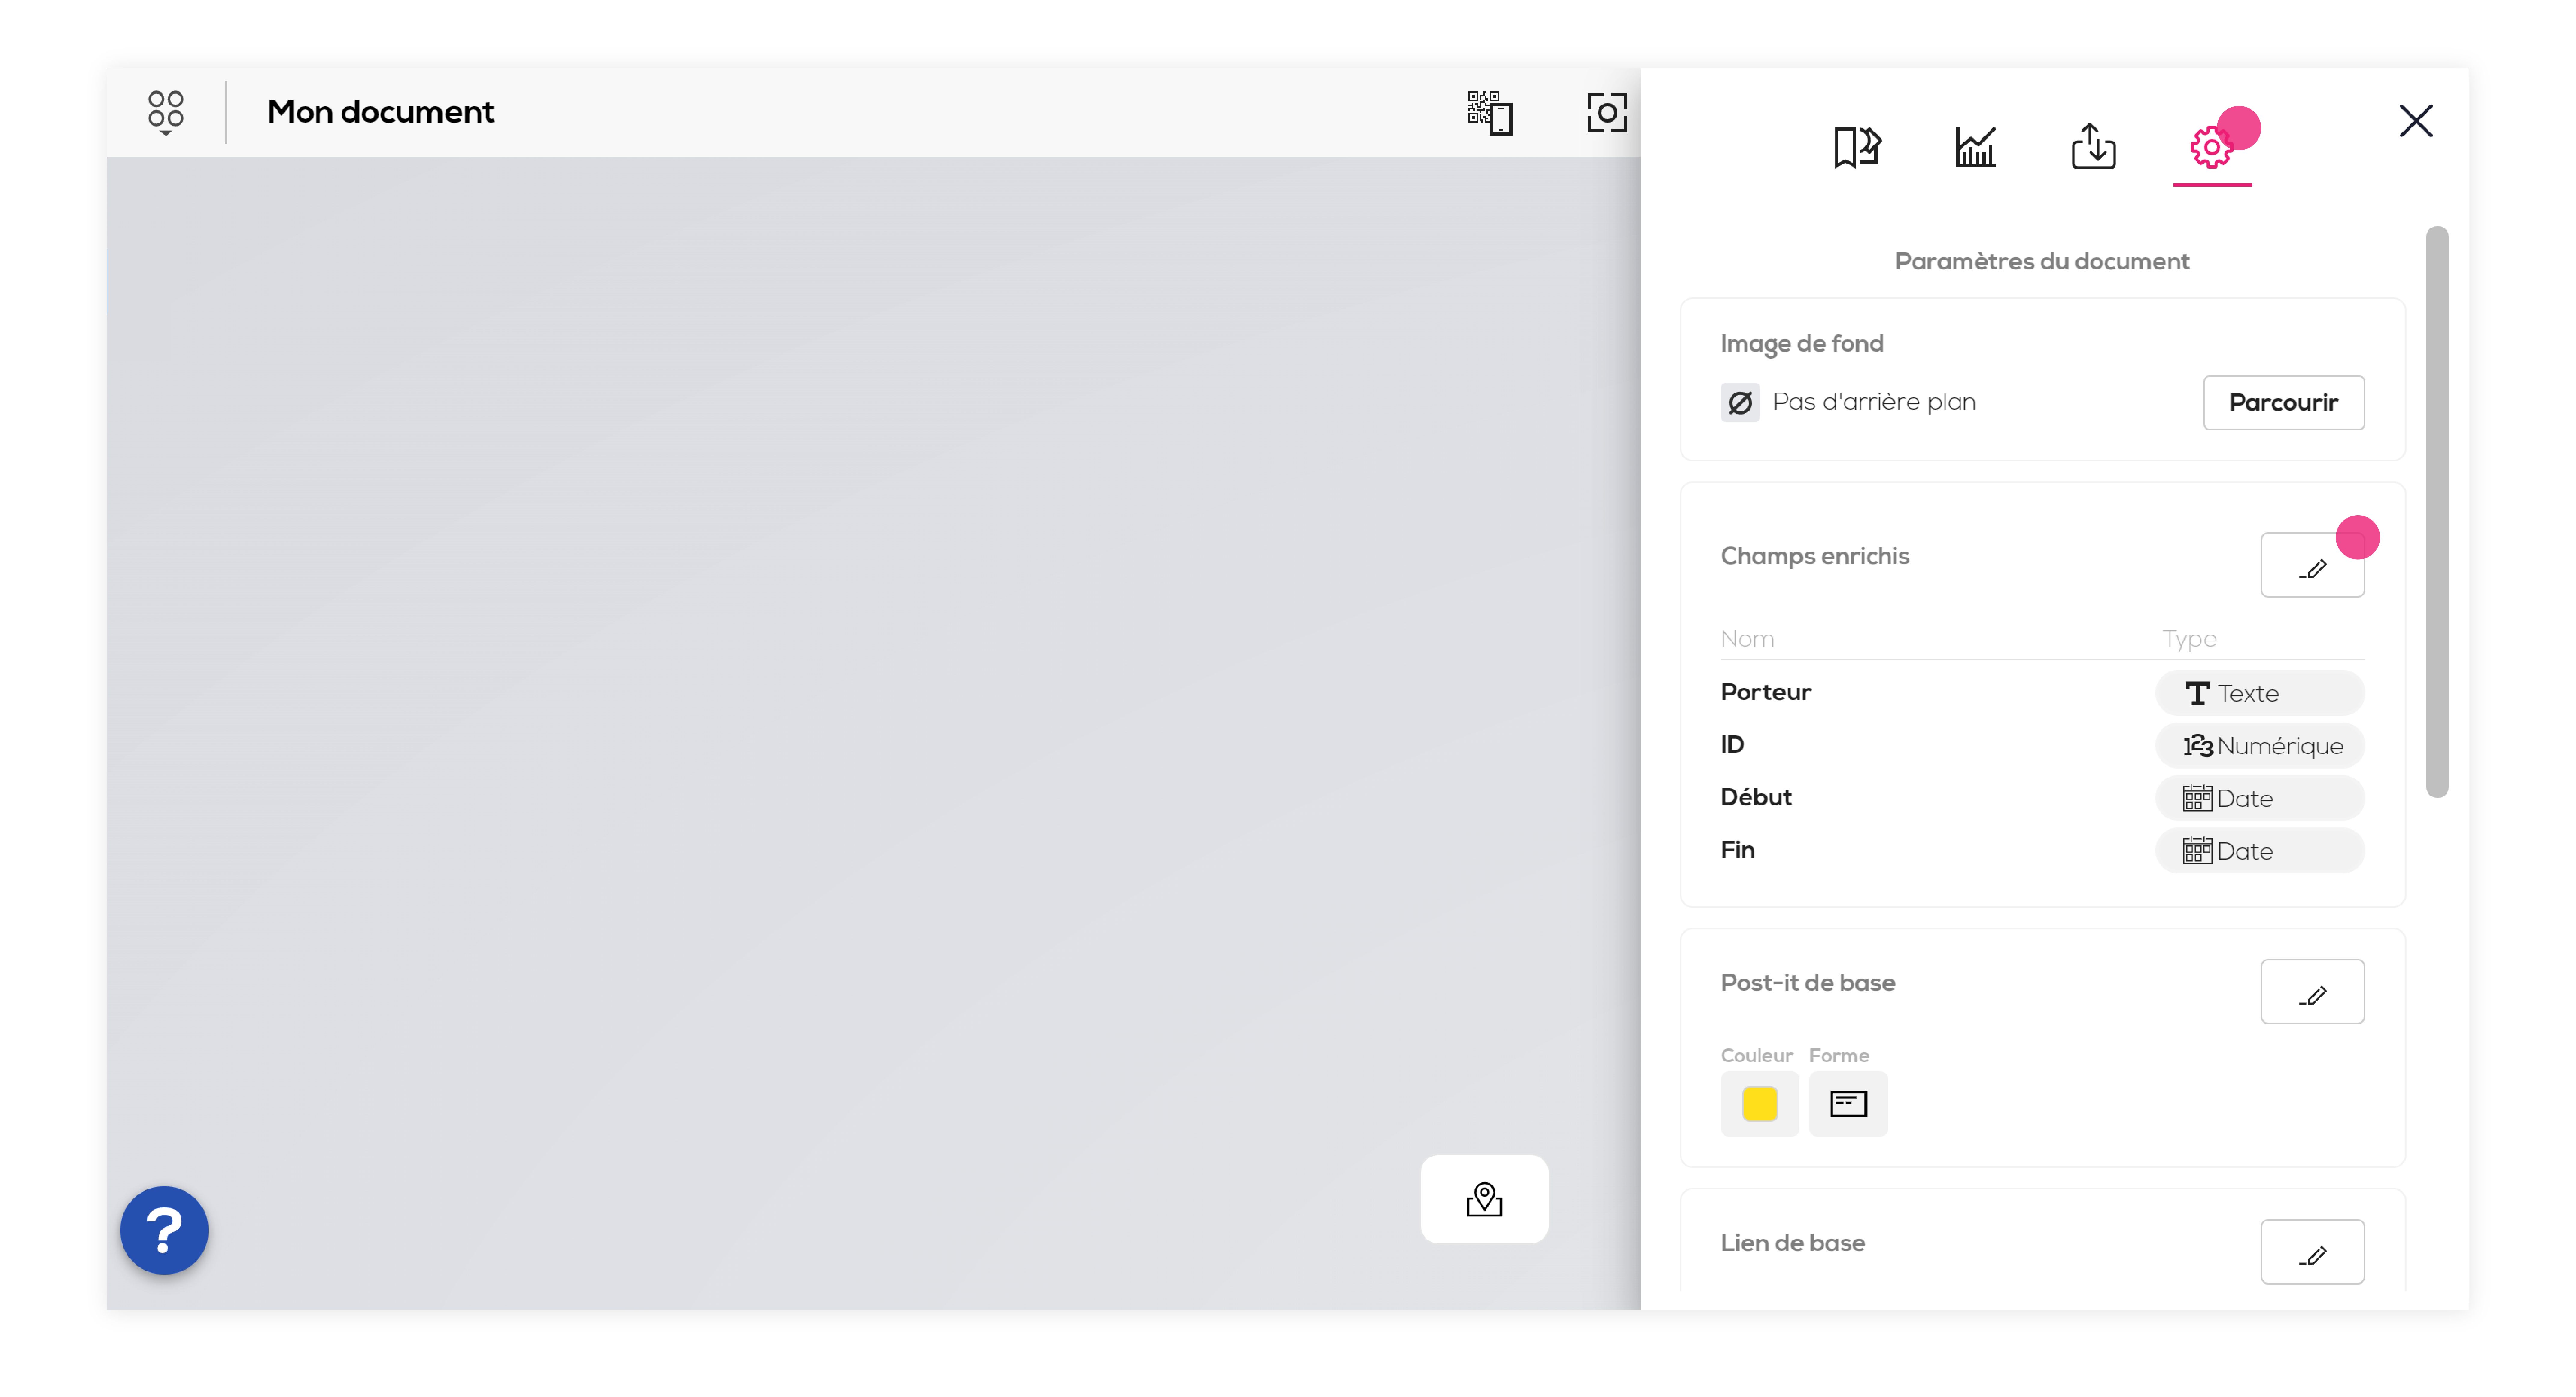
In your document (or on your project's home page if you want the field to be automatically added to every new document), click on "Settings" and on "Edit" within the "Extended fields" section.
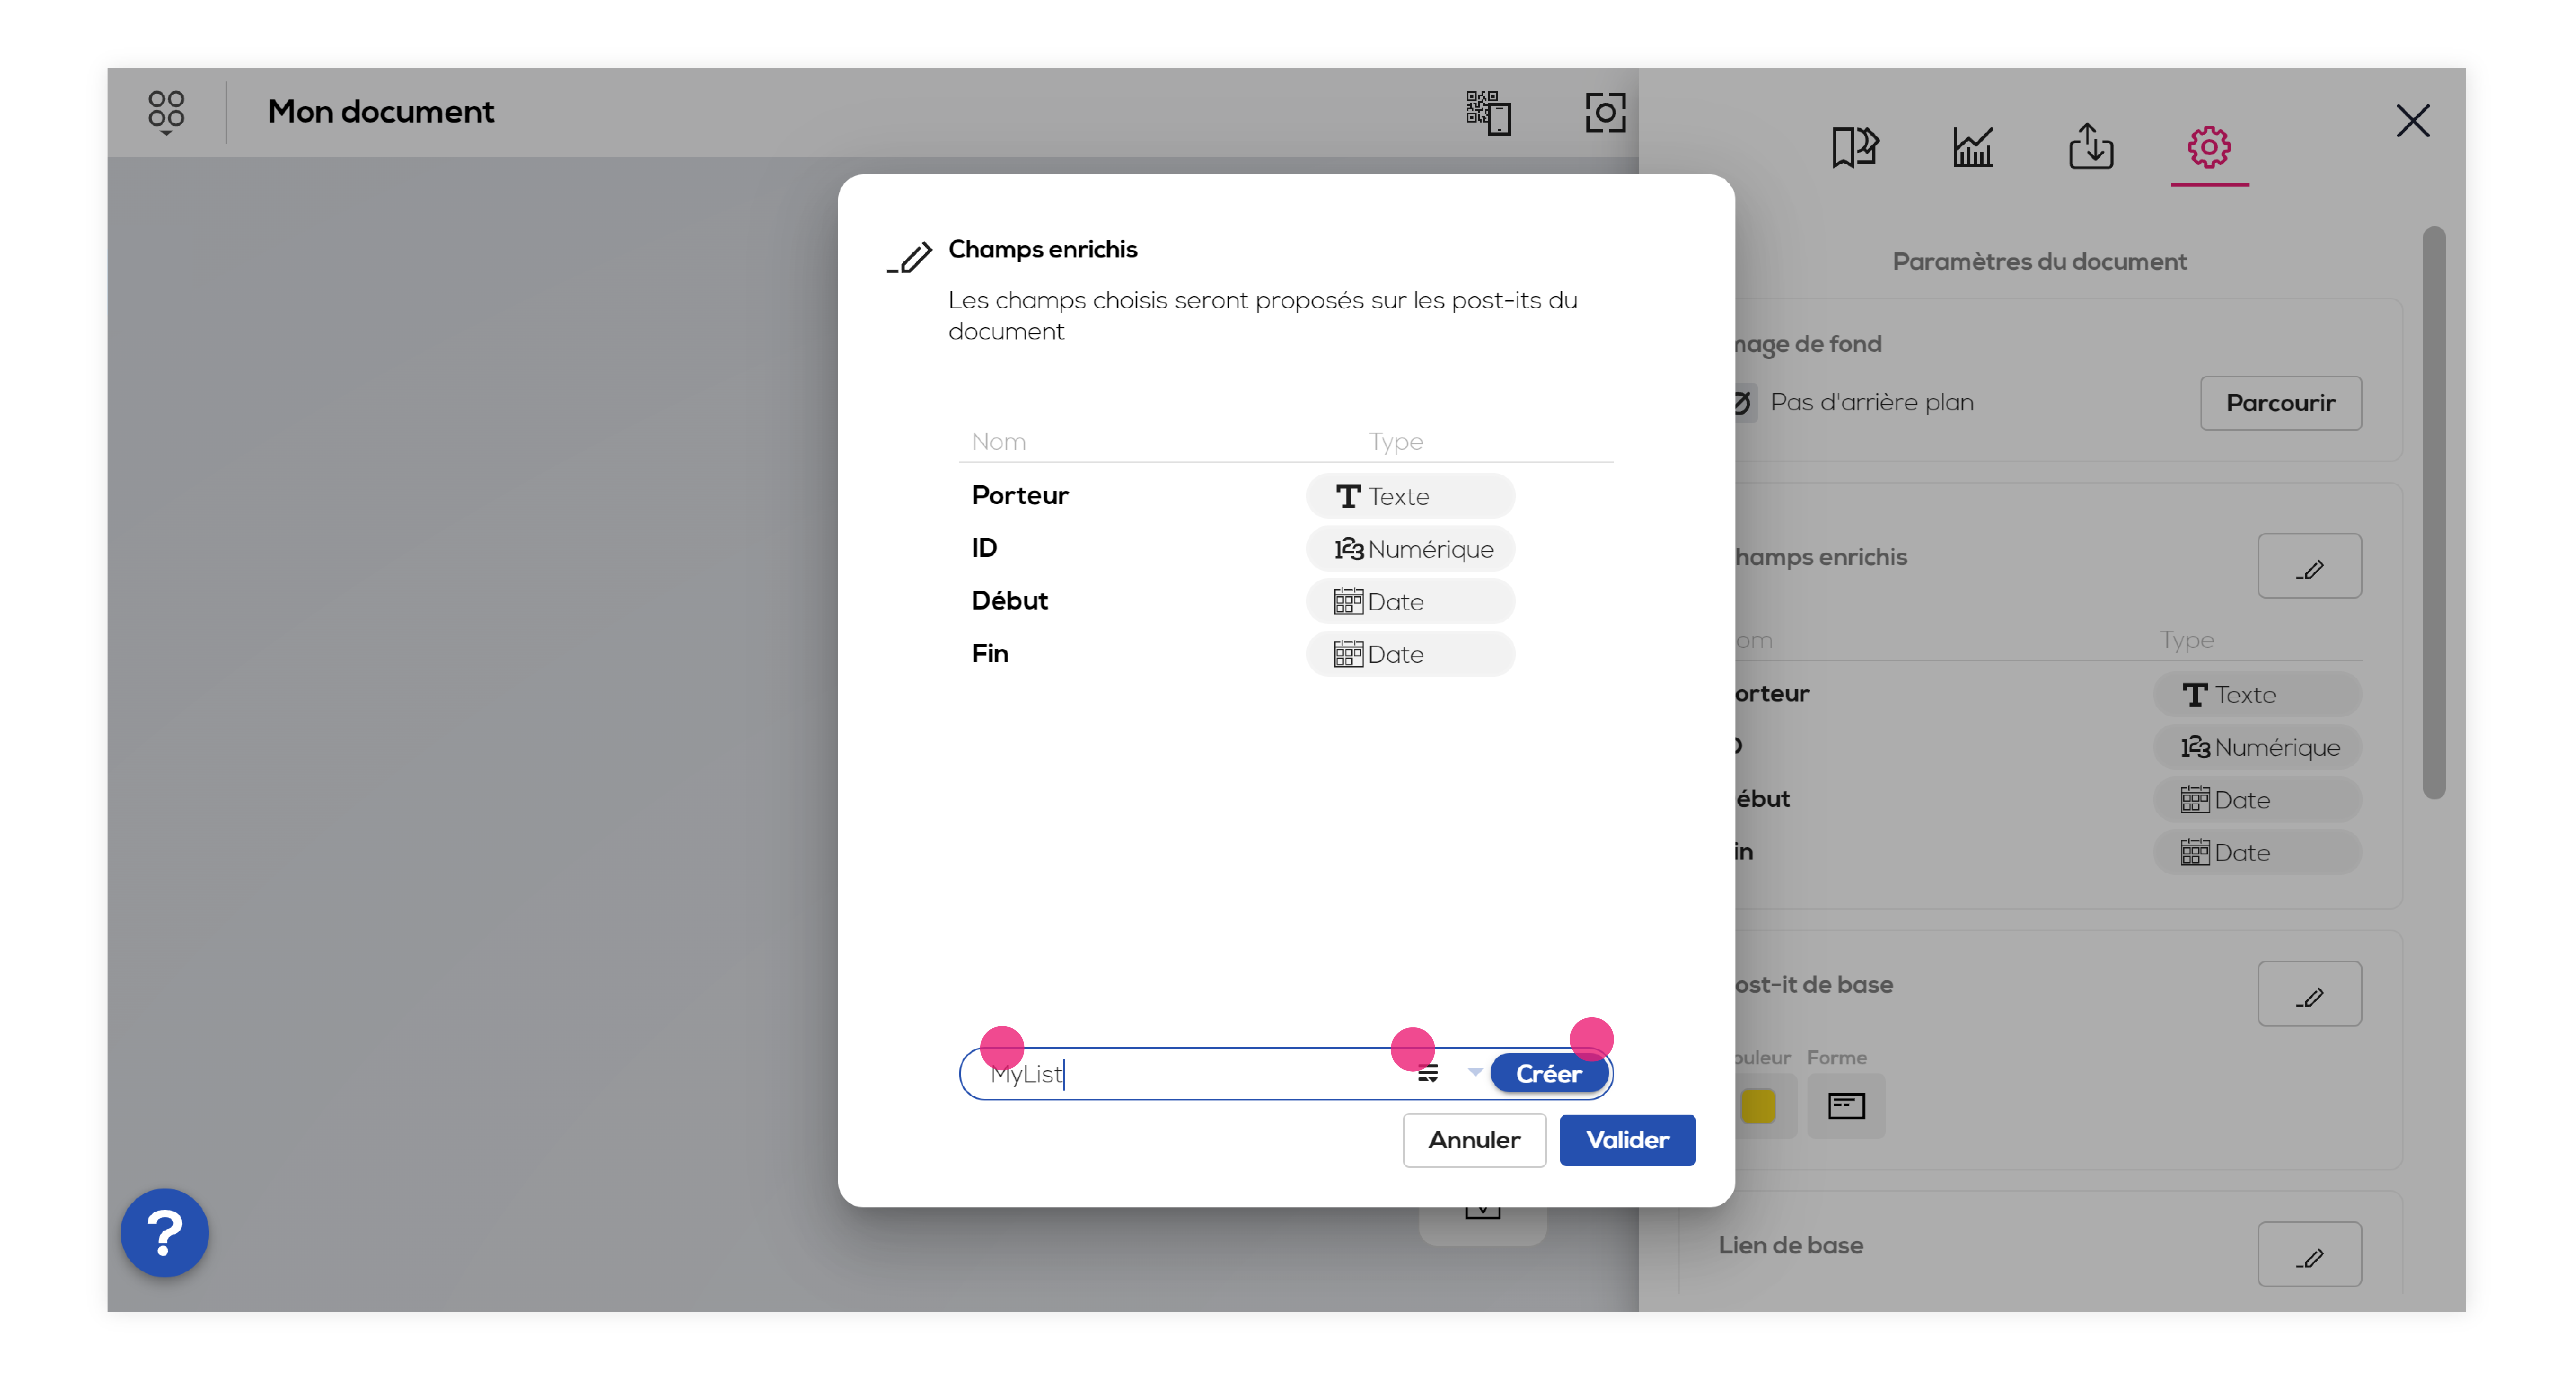
Choose a name for your field, then select the "List" type and click on "Create" (if a field with the same name and type already exists, the "Create" button won't be available, you can then : use the existing field or change your field's name).
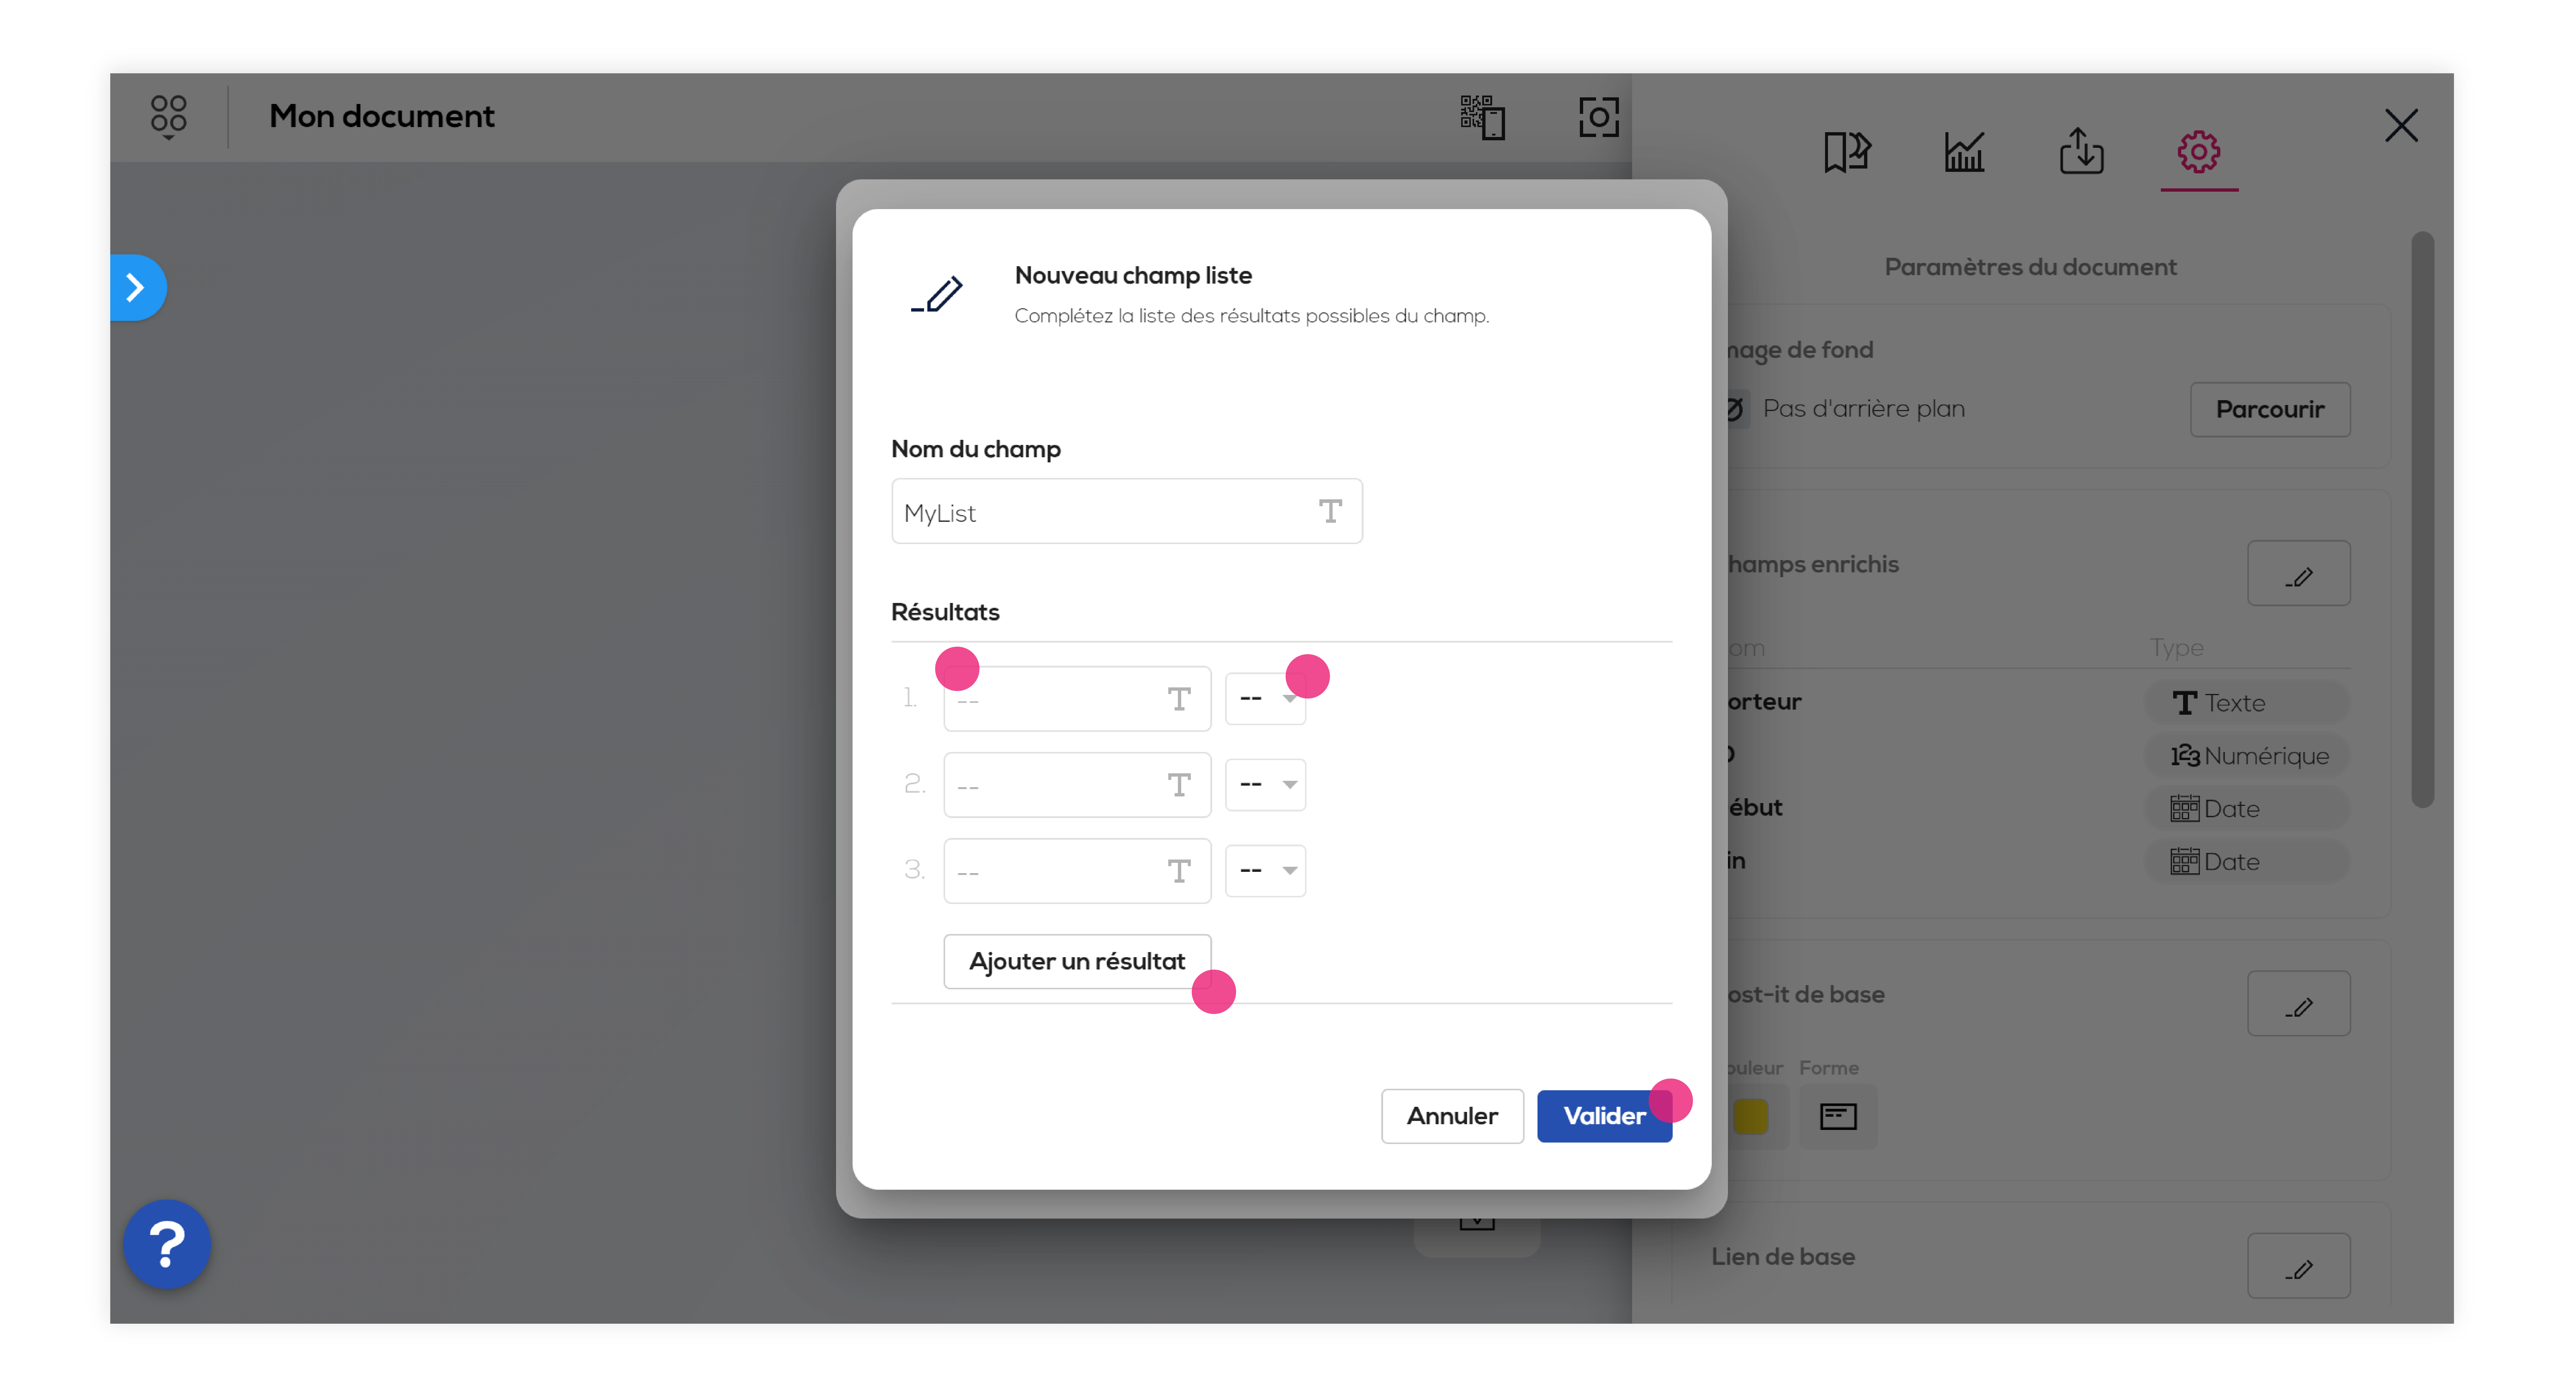
The configuration popup of your list field opens : choose the results you want to add to the list (you will, later on, choose results only from this list but the list will be editable any moment), You can also add a color to each result, click on" Add result" to extend the list (results without values won't be taken into account).
Click on "Validate" when your field is ready.
Your field has been added to the document's fields list, click on "Validate" to finalize the operation.
Use the list field.
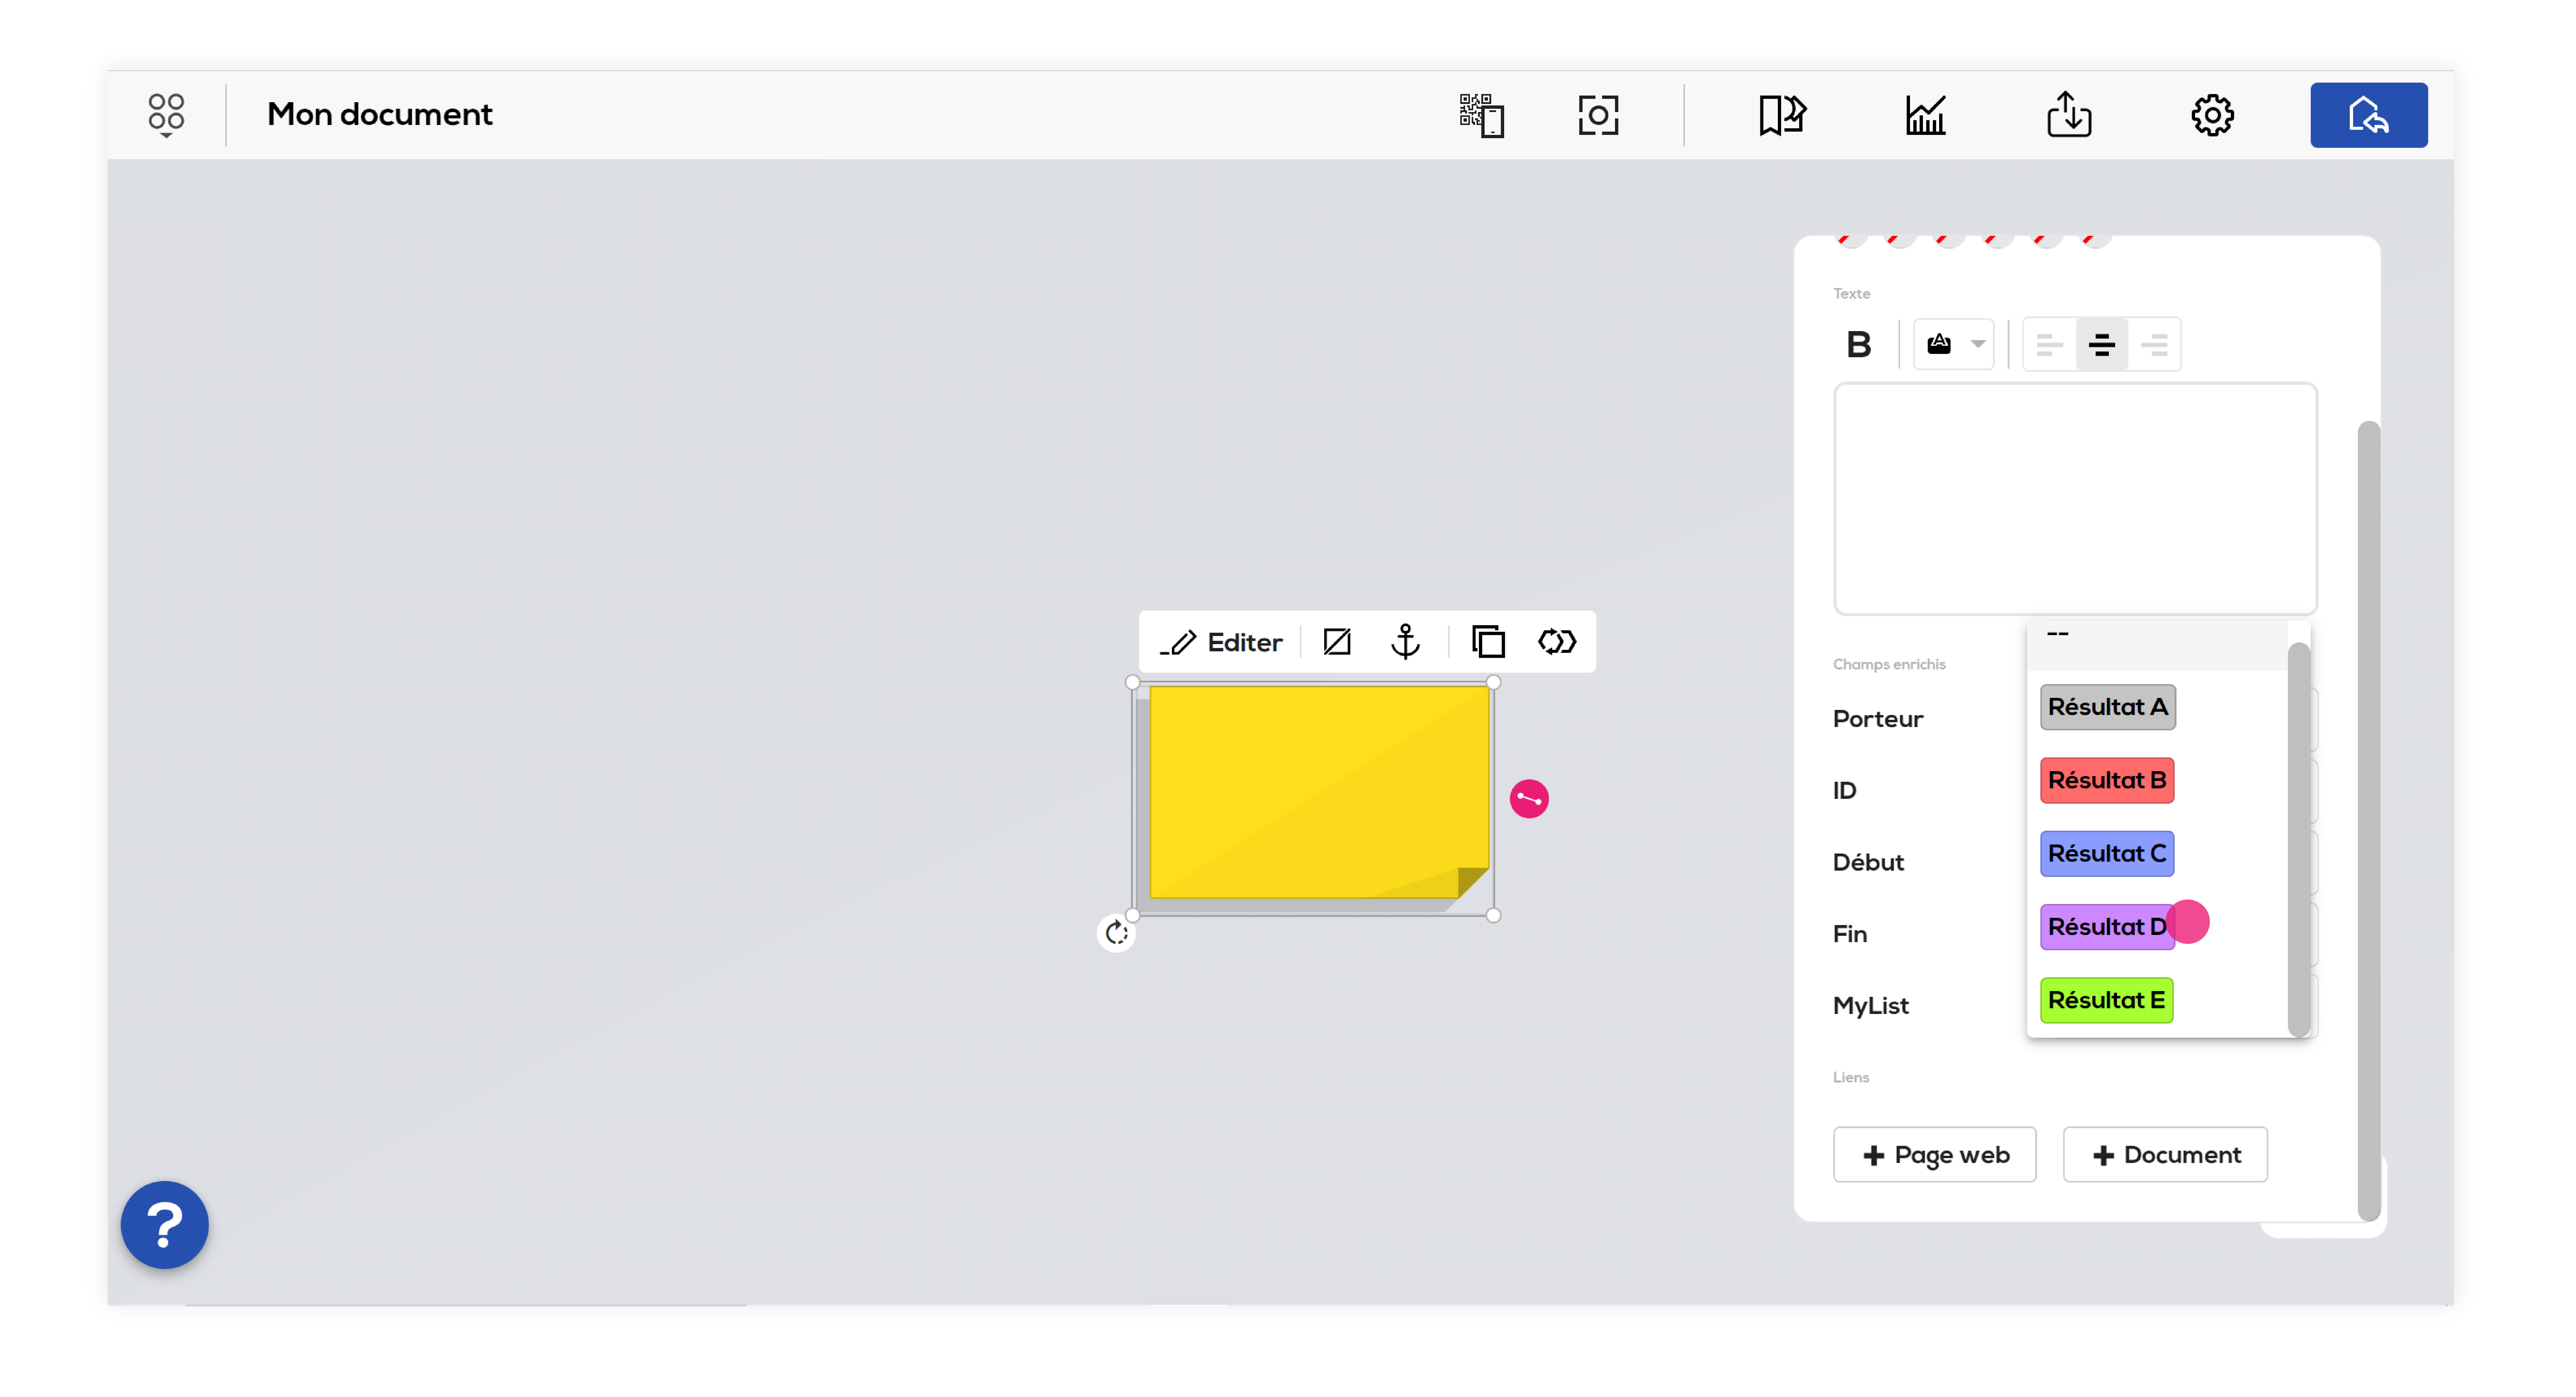
Now that your list field has been associated with your document, it will be available as any other field directly on your post-its. Select a post-it and open its edition pop-up. In the extended field section, click on the field you created to see the results list. Click on a result to select it.
As for any other field, click on the "fields" icon of your post-it. The fields that have a result selected are displayed.
