Use the document statistics

Learn how to use the statistic tab in your documents.
Written by Support Ubikey
Updated 1 month ago

The statistics tool is very convenient to analyse your performances and your meetings. It enables you to find, keep count and highlight the items within your document according to a specific set of customizables criteria.

Create a measure in a document

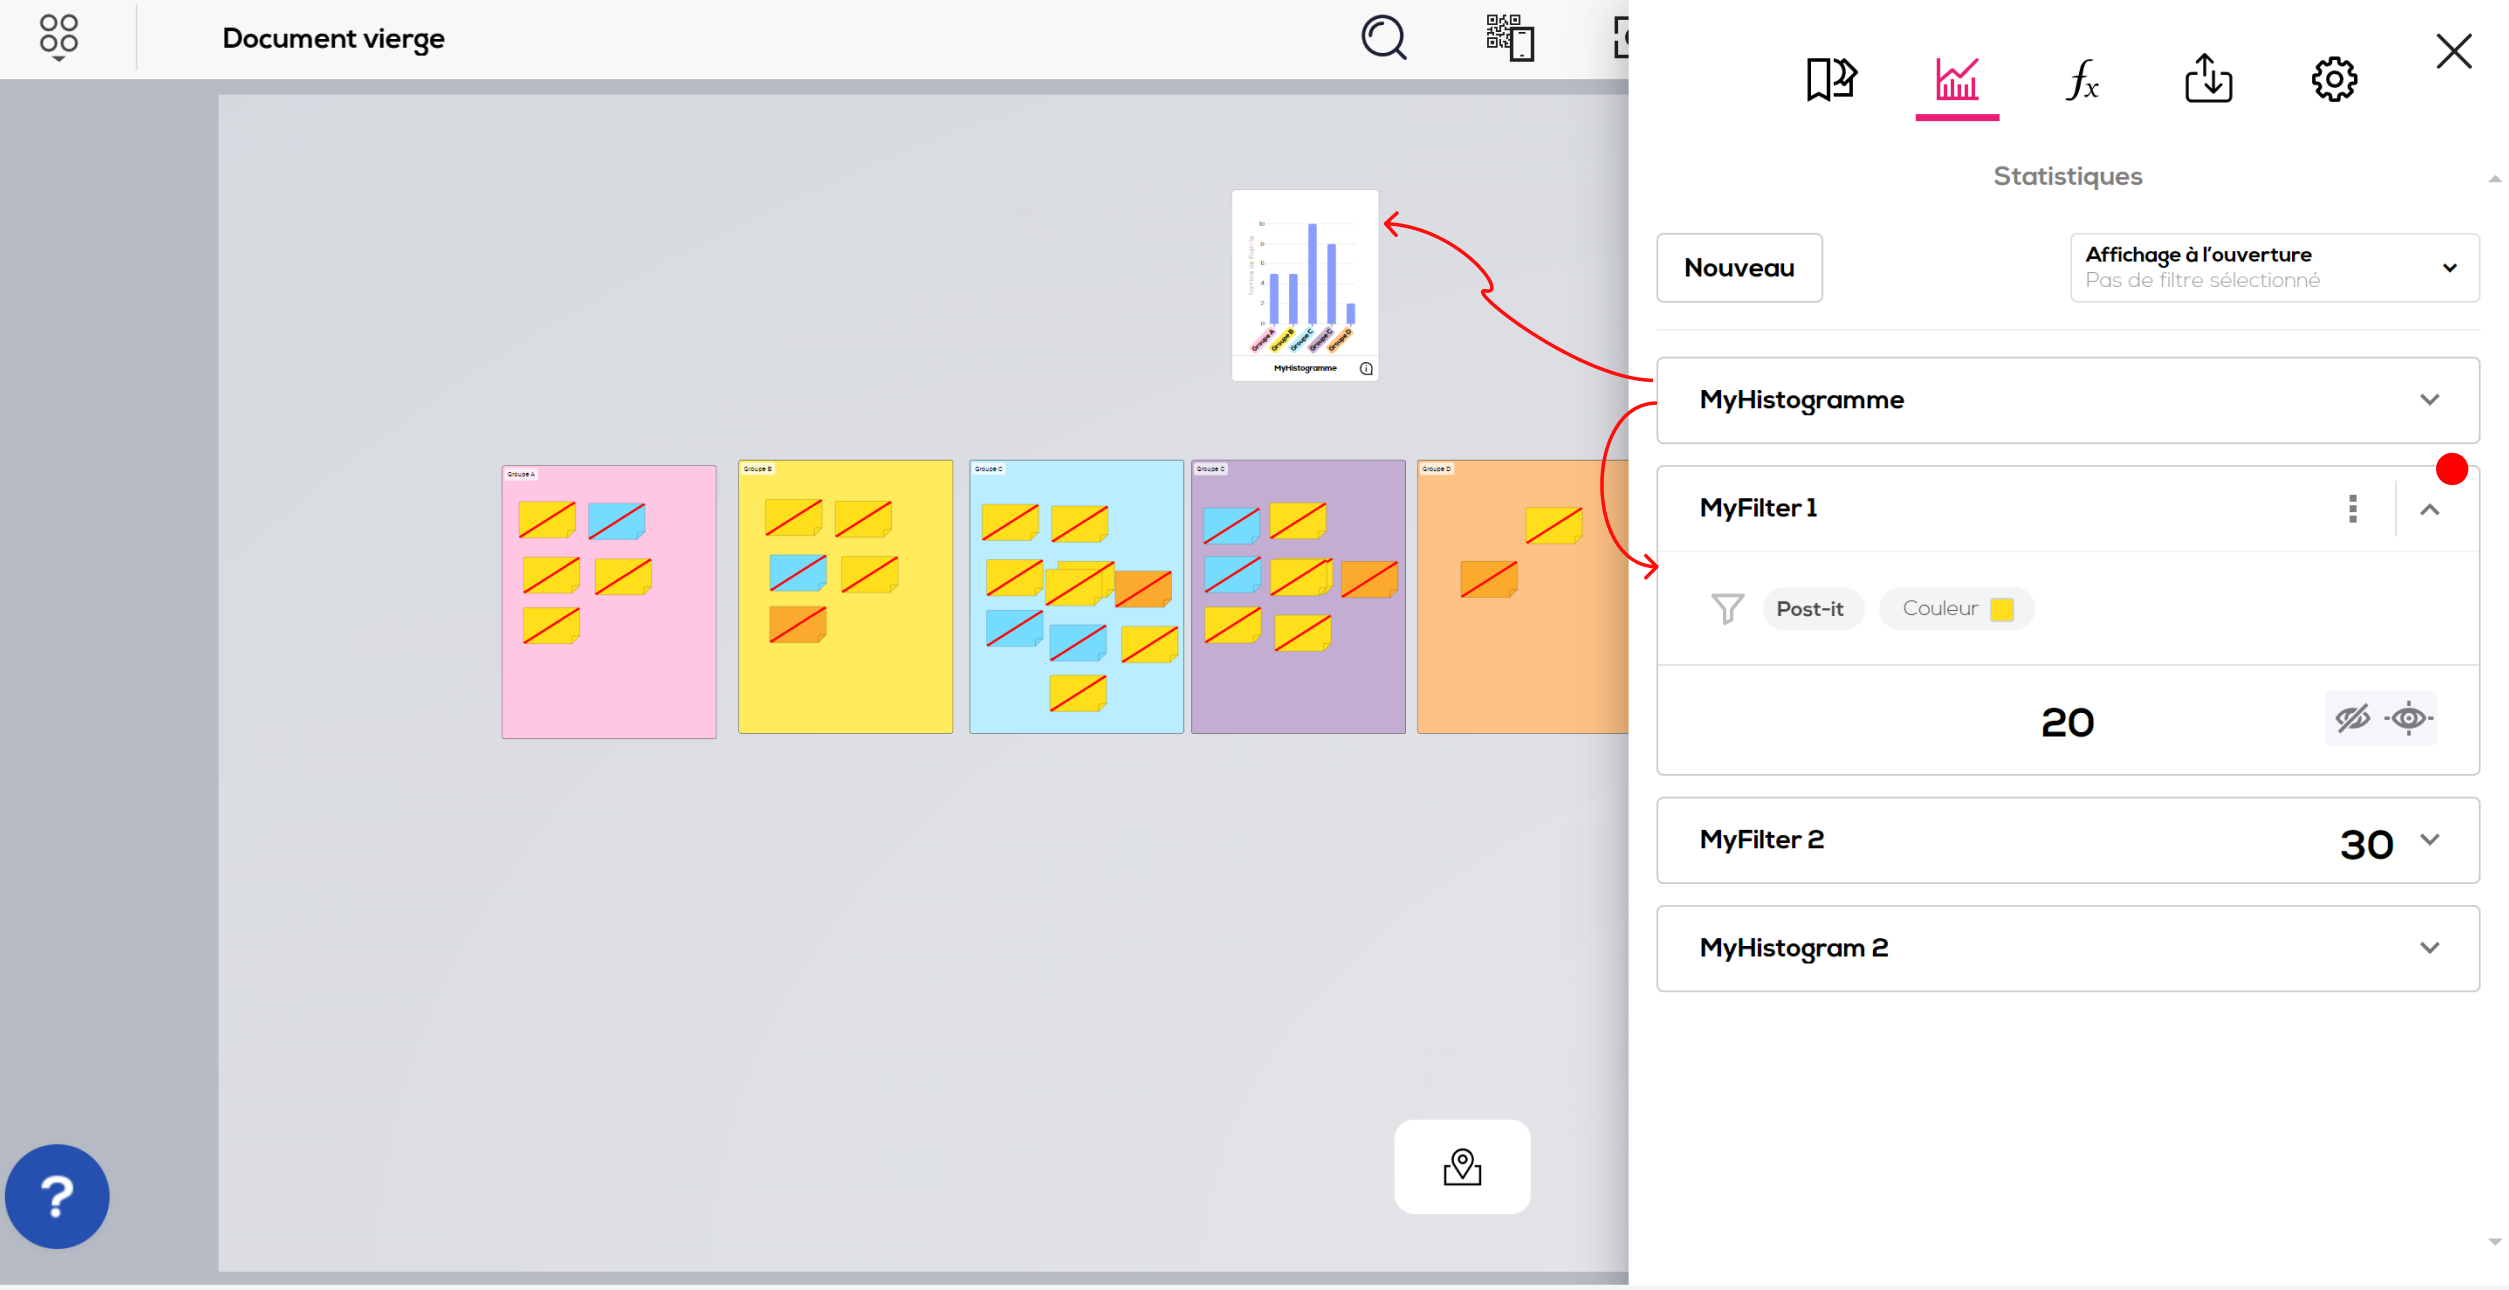
Open your document and click on the "Statistics" icon on the top right-handed corner of your screen.

Click on the "New measure" button.

Choose a title to your measure and fill the fields to add criteria :

  • Element type : you can customize the element type (post-it, jira cards or both) that you want to filter. According to the chosen element type, the suggested field won't be the same.
  • Color and shape, for example "I want to find all the pink item within my document".
  • Crossed / not-crossed state : Find only the crossed out items or the not crossed-out items.
  • Text : find all items that contains the entry.
  • Extended fields : find all post-its containing the entry within the corresponding field (for example "I want to find all post-it that are assigned to me : responsable = ME).

Filter on a date field

Start by clicking on "Add filter" in the statistics tab.

Several options are available to create a filter on a date field :

1 . Click on the field to select a fixed period : the date entered on the post-it must be included in the period for the post-it to be counted.

2 . Click on the "advanced date filter" button to create a "fluctuating" filter :

The "Dates" option enables you to set up a fluctuating filter depending on the current date :

For exemple "Filter the dates after current date + 2days" will enable you to see all tasks that need to start in 2 days or more.

The "During" option enables you to set up a fluctuating period around the current date. For example : current date -1day / +2days will show all tasks that need to start between yesterday and in 2 days.

Fluctuating filters are dependant on the current date, they are automatically updated and stay relevant at any time.

The "Expired date" option will show all post-its whose start date is before today. It is also fluctuating according to the current date.

The "None" option will show all post-its whose start date has not been entered.

Filter post-its without value.

You can filter the post-its that does not have a value filled for a specific field by choosing the "none" option within the menu. The filter will then refer to post-its without value for the choosen field.

Value comparison

For numeric, calculation or duration fields, you can filter value that are lower, upper or equal to the filter value.

In order to do that, use the corresponding button alongside the field by selecting the wanted operator.

Comparison with a document variable

It is now possible to compare the value of a numeric, calculation or duration field with the value of a document variable. In order to do that, when configurating your filter, select the variable to compare within the list and click on "Validate" to create the filter.

For example : here the value of the "CT'" field will be compared to the document variable "Takt time".

The available variables are the document formulas. 

Note : For the duration fields, you will need to specify a unit for the comparison. For exemple, if you compare "MyDuration" > "MyVariable" in seconds. The duration field will be converted in seconds before being compared to the variable (without unit).

Click on "Add measure" to validate the criteria.

You can now add as many measures you want and visualize them in the "Statistics" menu.

Click on the "Menu" icon to edit or delete a measure.

Click on the "Highlight" icon to highlight and easily find the selected items in your document.

You can also hide the items concerned by the filter by clicking on the "hide" icon.

Add measure as document item :

Drag a measure from the tab to add it to your document.

The created item can be handled as other documents items.

The measure item is only compatible with the document it was created in, if you send it to another document through  a portal, it will show an error.

Save display options :

You can choose to save the display options (highlight or hidden) as opening display options. Click on the "Menu" icon on top of the filters list and select "Save as opening display option"

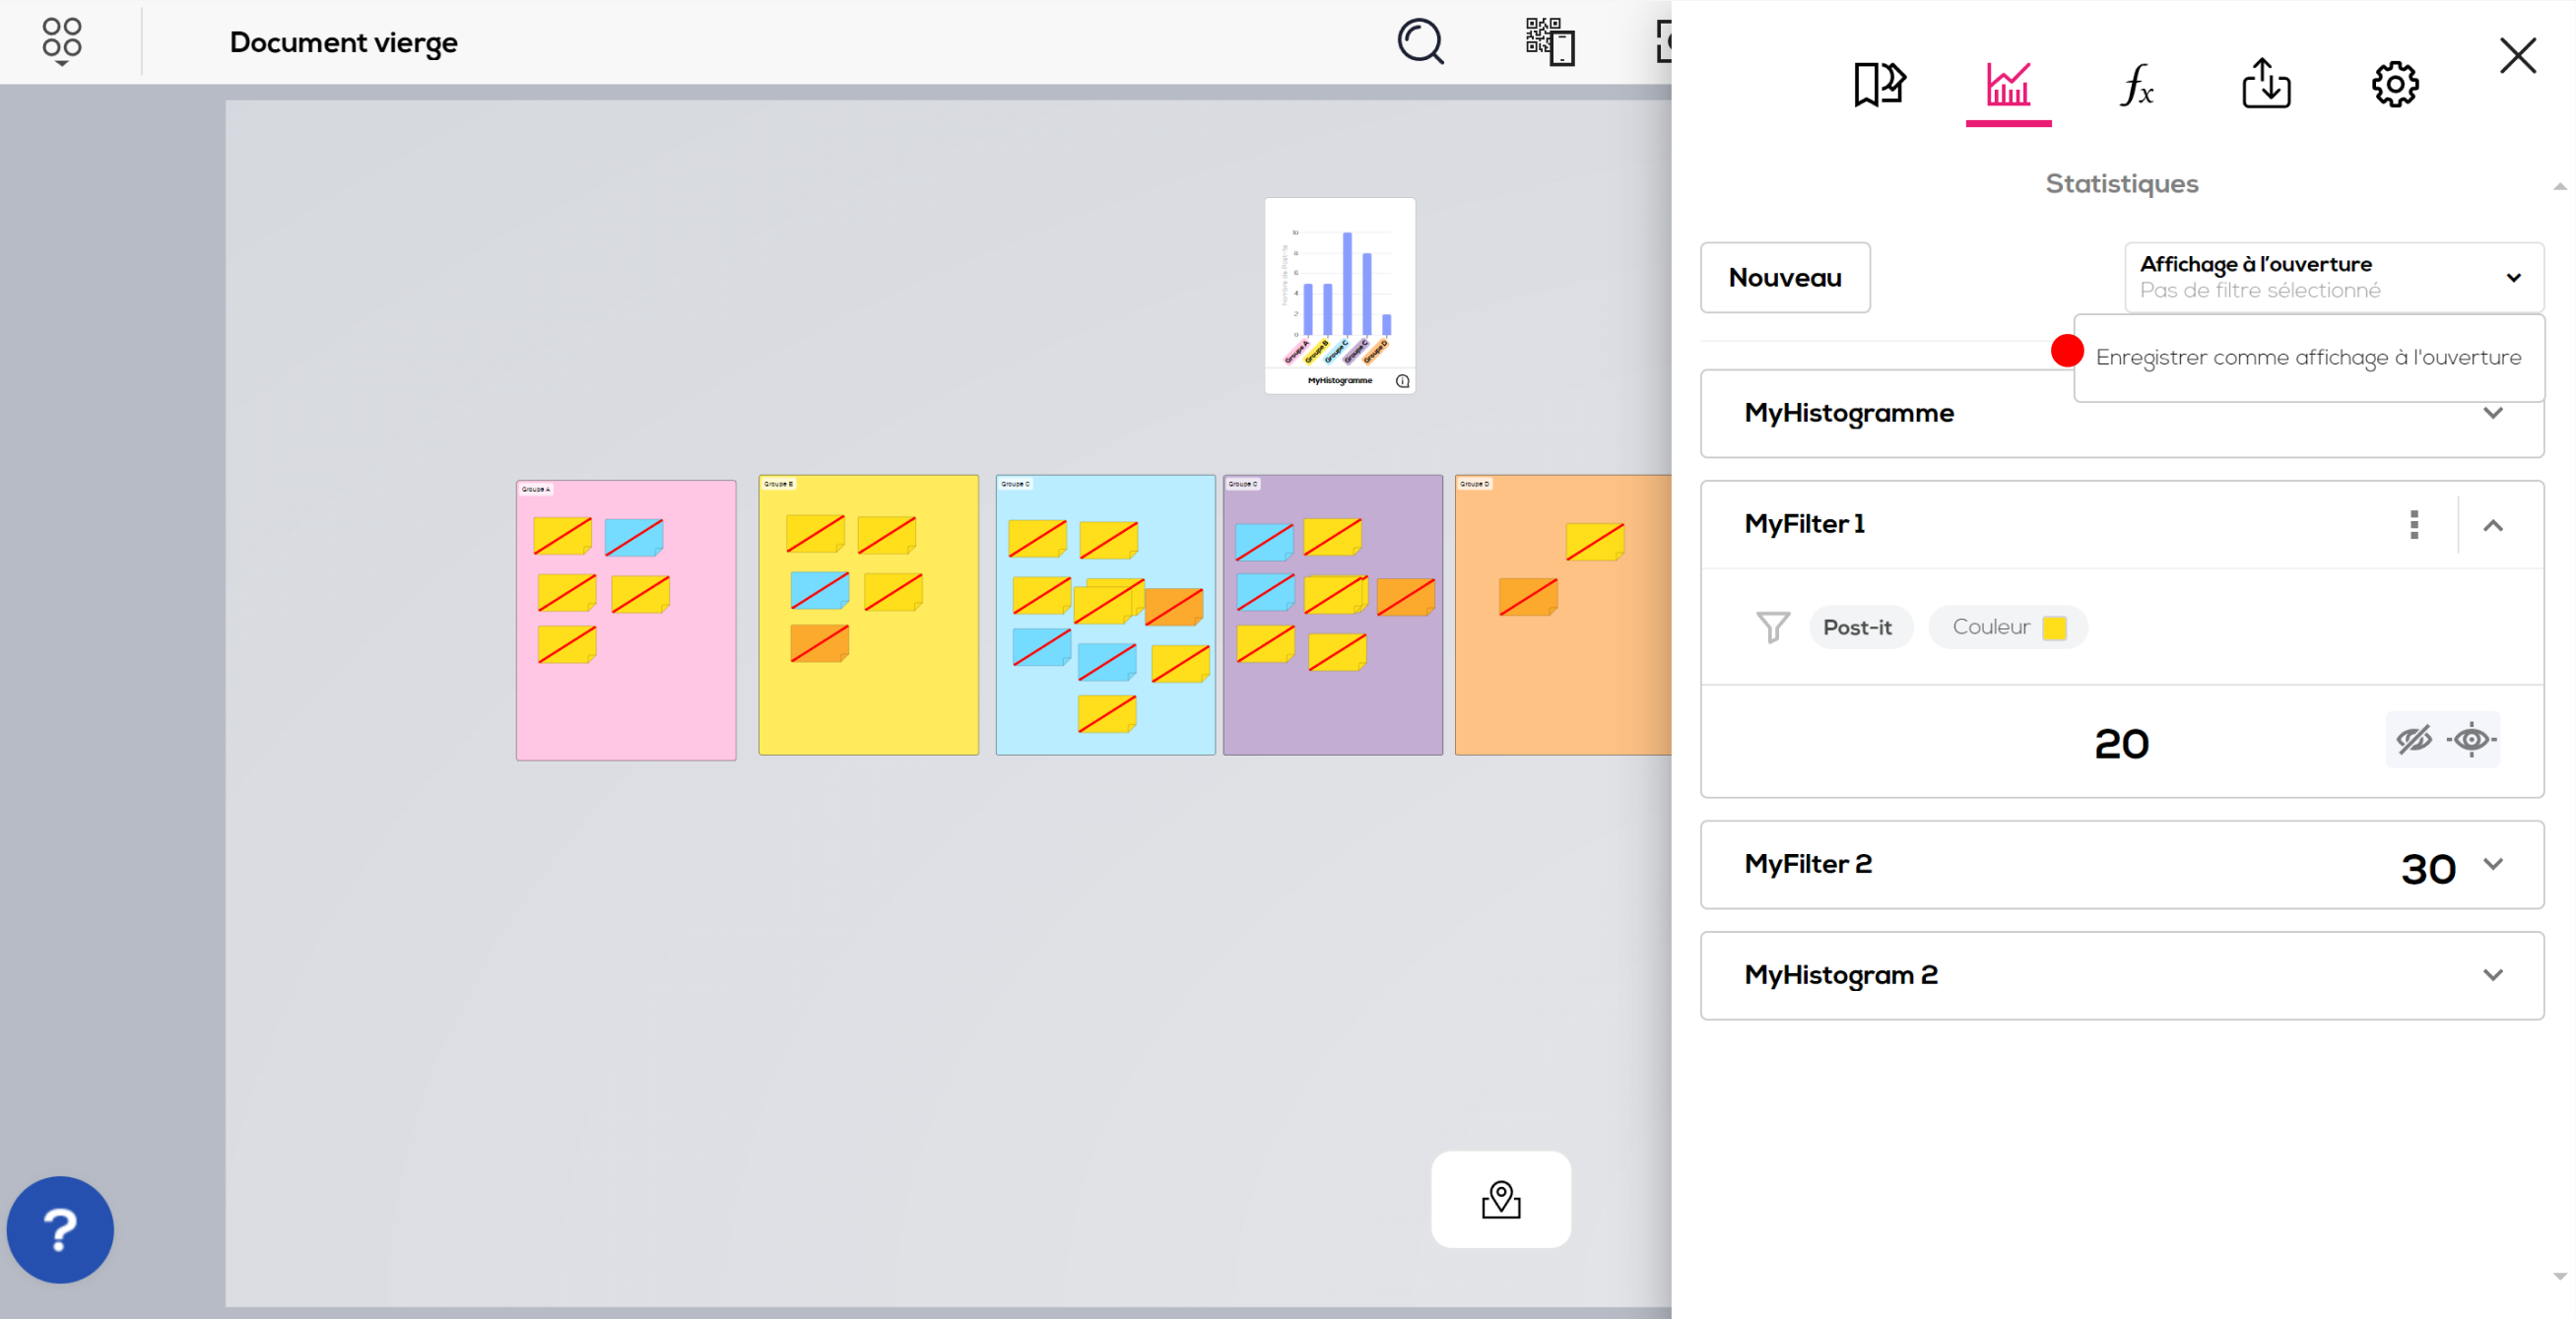
From now on, your document will open with the selected options when you performed the action. To change the opening display, repeat the operation with new display options selected.

Did this answer your question?