What are extended fields?
Extended fields are additional datas associated to a post-it. By default, these additional datas are:
- The Bearer (text field)
- The Post-it ID (numeric field)
- The start date (date field)
- The end date (date field) This information can be very useful, especially when combined with filters that allow you to identify at a glance all the post-its that are assigned to a person or that have a passed end date. You can fill in these fields in the edit menu of the post-it.
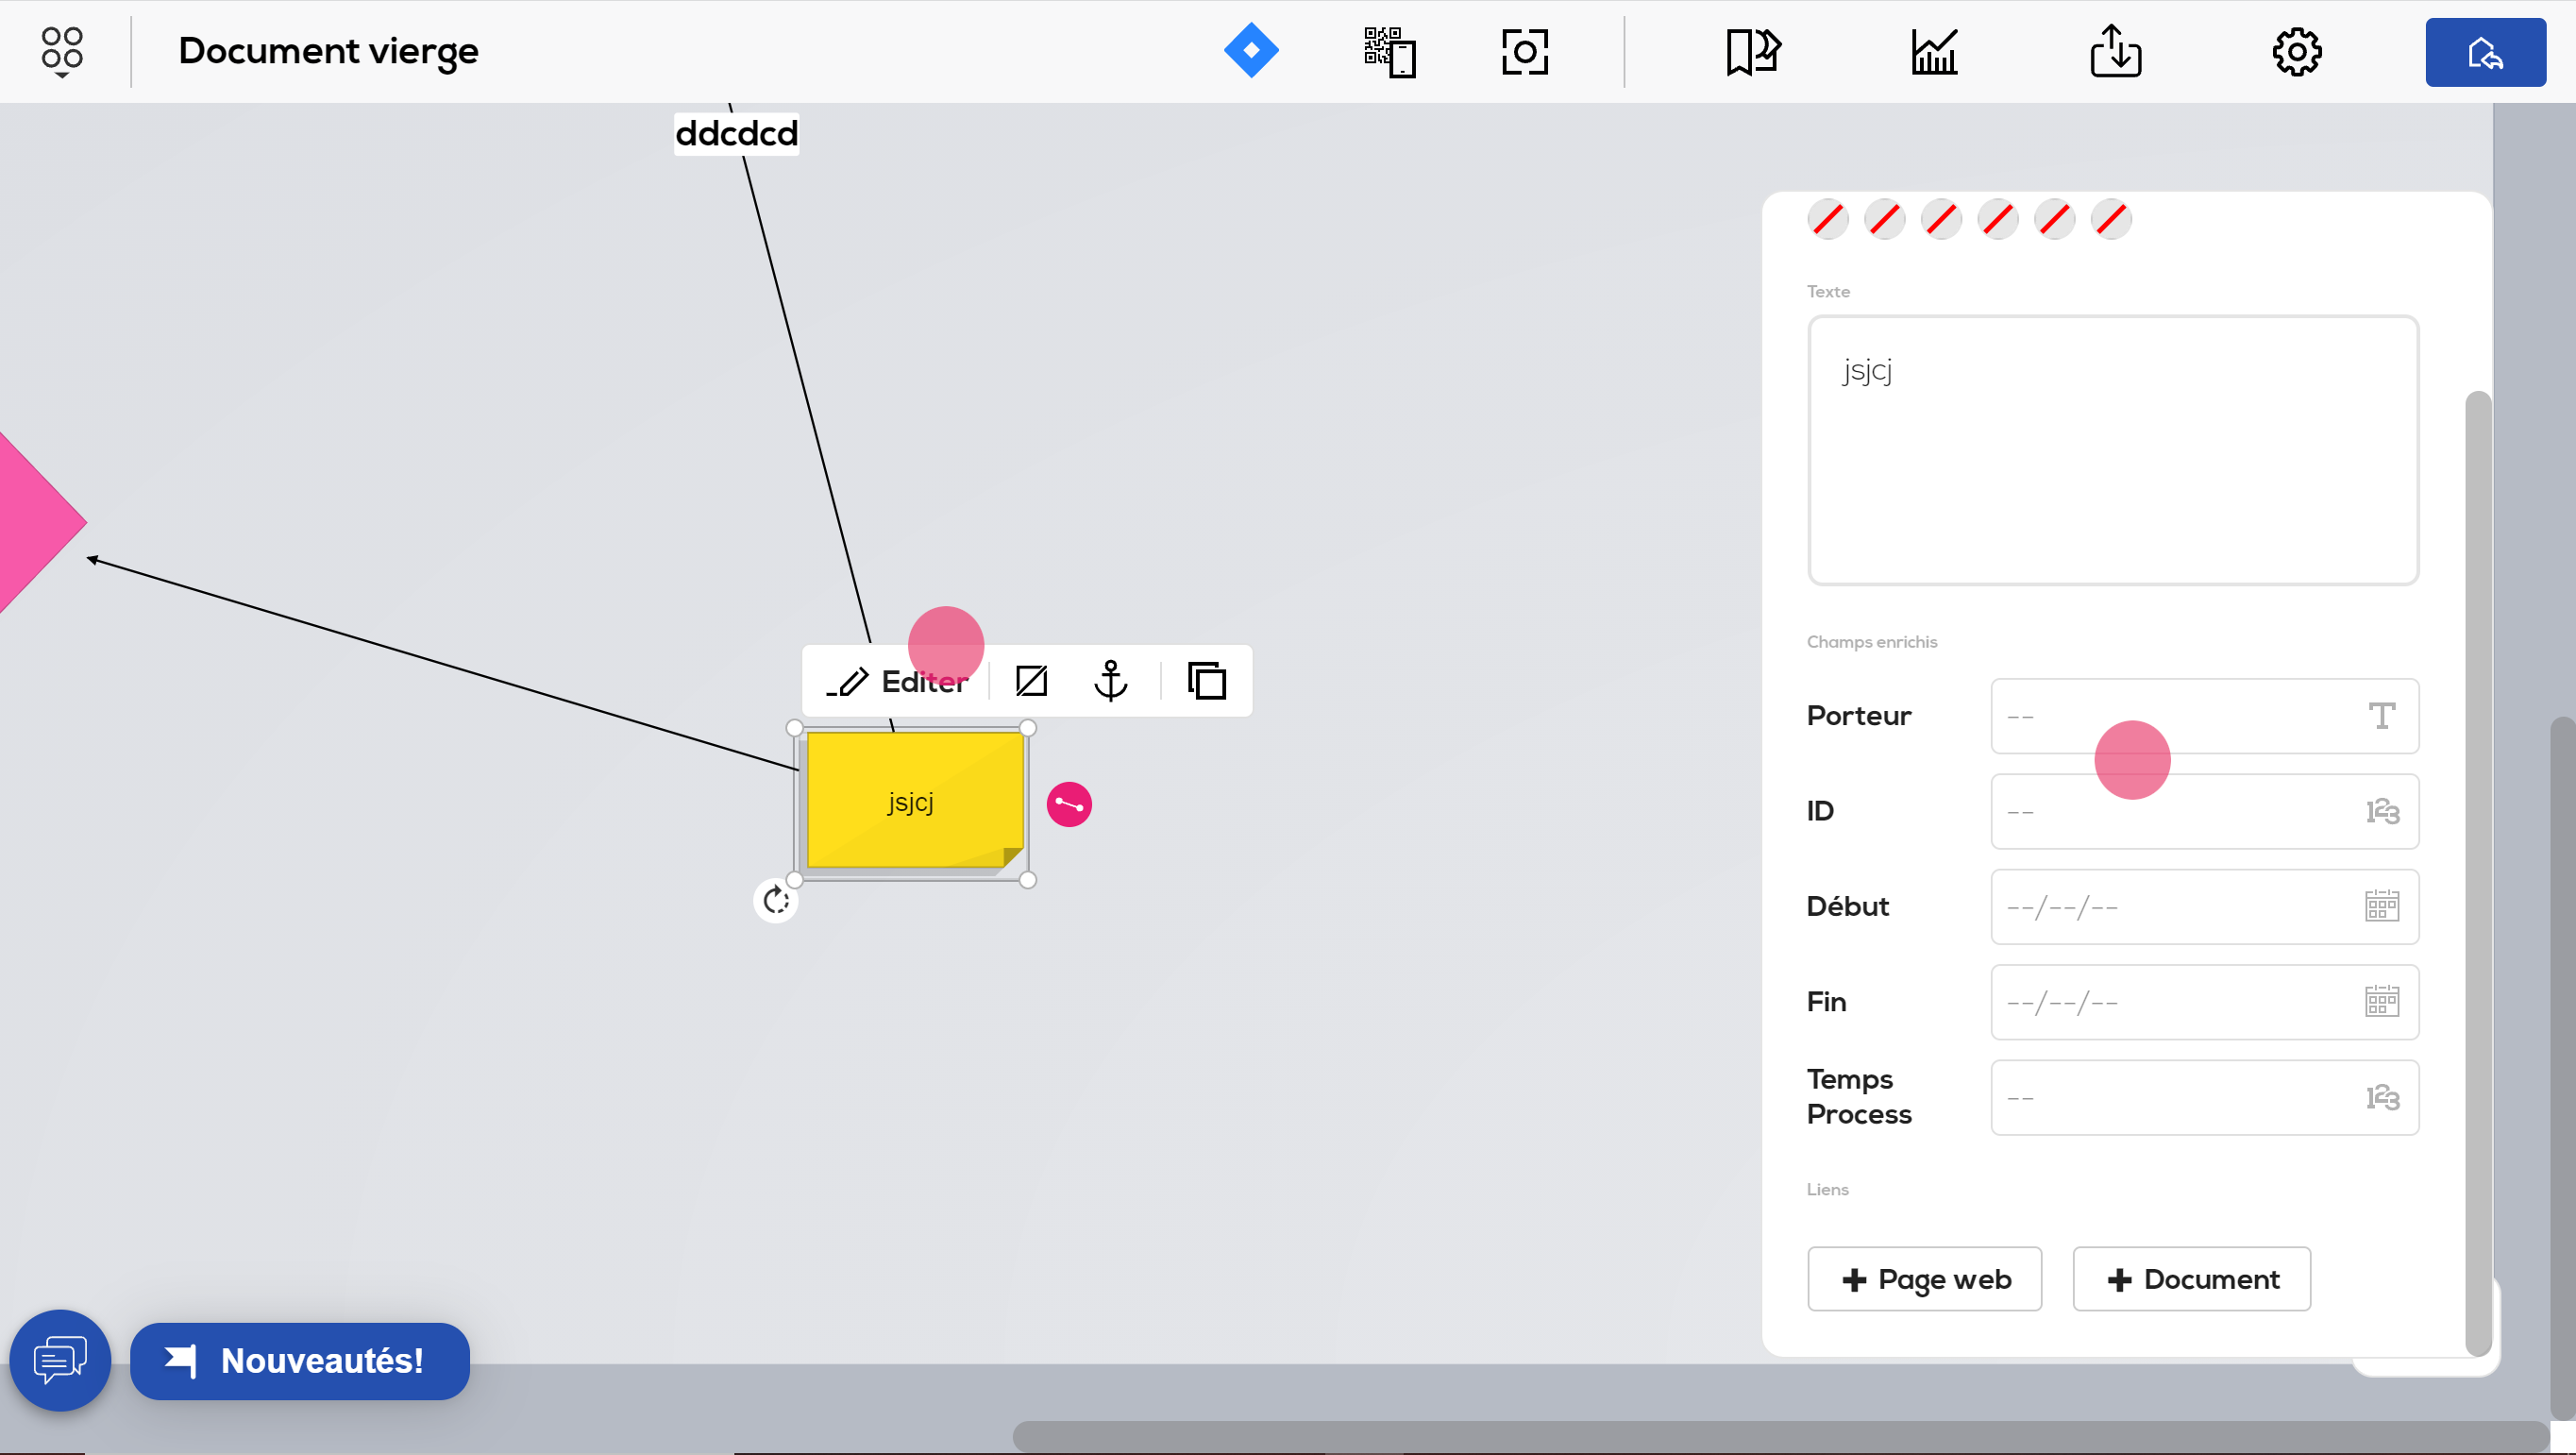
When at least one field is completed, a small icon appears below the post-it. Click on it to display the associated data.
You can fill in the extended fields by opening the edition window (double click on the post-it).

The fields can be configured at a project level or at a document level. You can add, delete, or reorder fields.
Types of fields available
Text field : accepts all kinds of characters(letters, numbers, special characters etc...)
Numeric field : accepts only numbers (negatives numbers and decimals numbers included).
Date field : accepts only dates.
Member field : Accepts only project's members.
Automatic field : is automatically filled with the chosen value. Auto field available are : Creator, created at, updated by and updated at. (see : Automatic fields)
Duration field : enable you to fill in a duration with a specific time unit (second, minute, hour, day)(see : Duration fields).
Calculation field : enable you to calculate a value from a formula using variables (Cf : Calculation field).
Edit extended fields at a project level
On the project home page, click on the "Settings" icon within the toolbar.
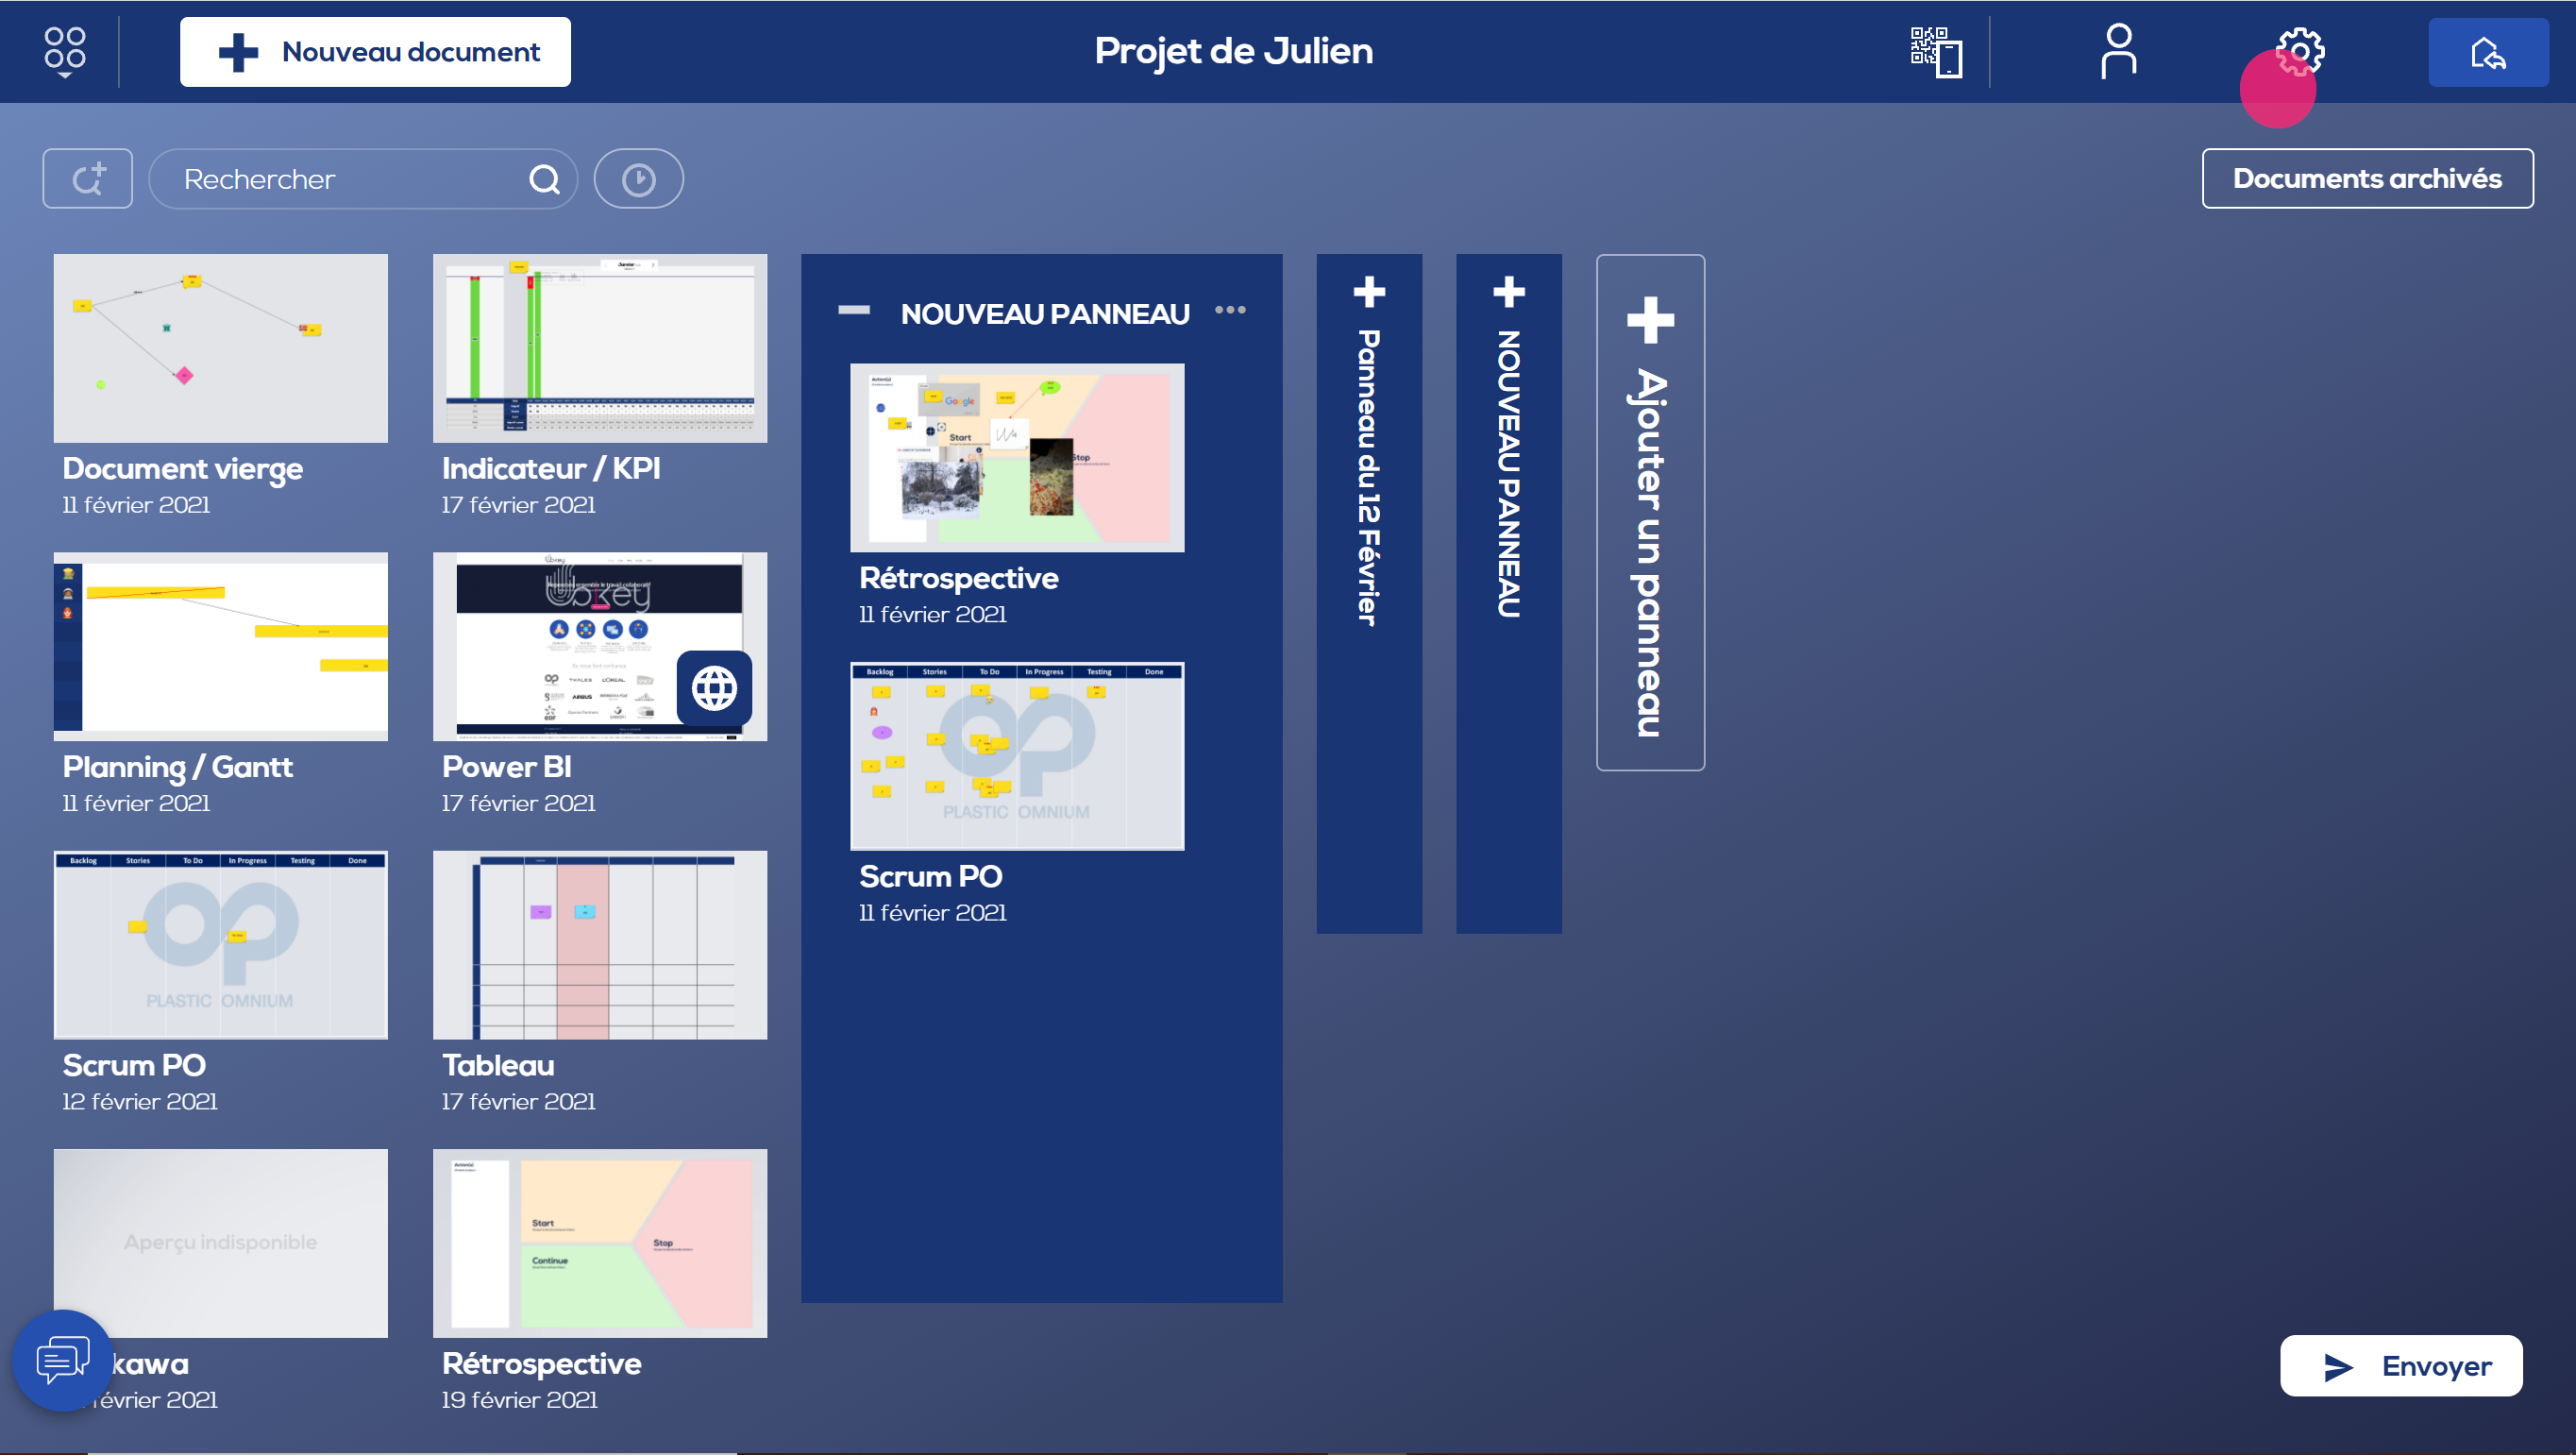
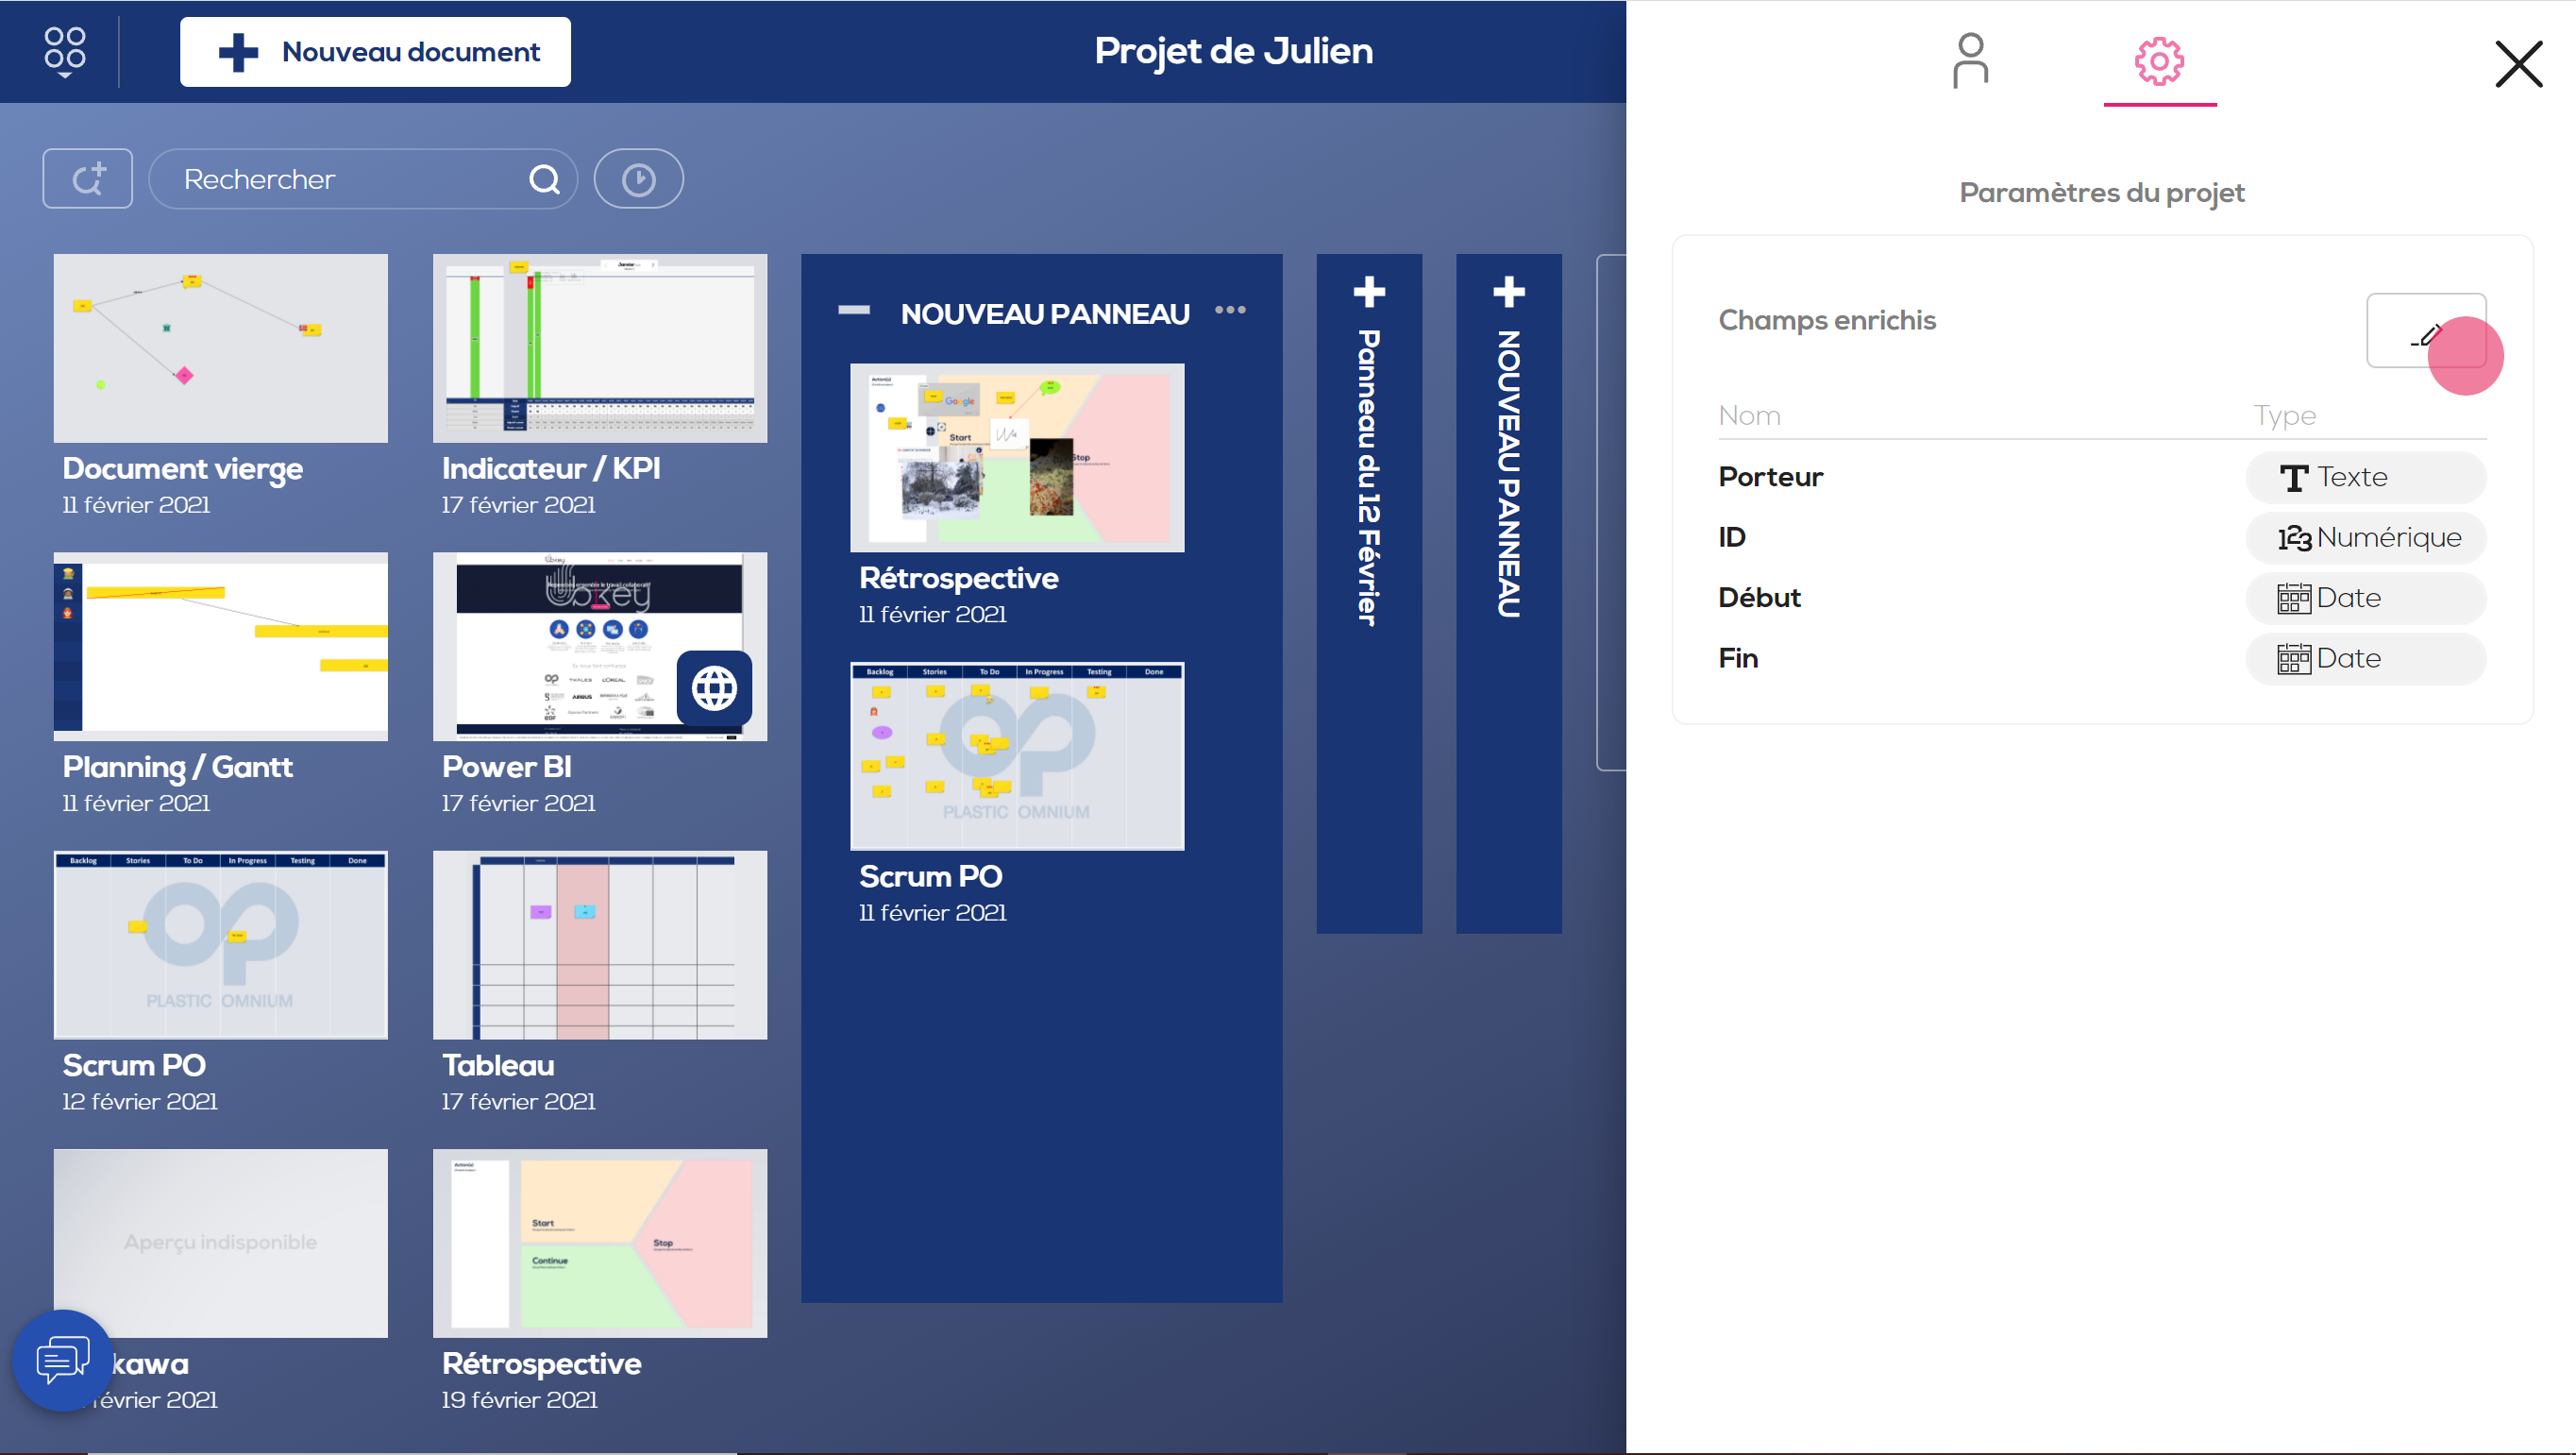
The project settings menu opens. Click on the "Edit" icon to edit the extended fields of your project. The extended fields of the project will be used as extended fields by default for all new documents (except custom templates).
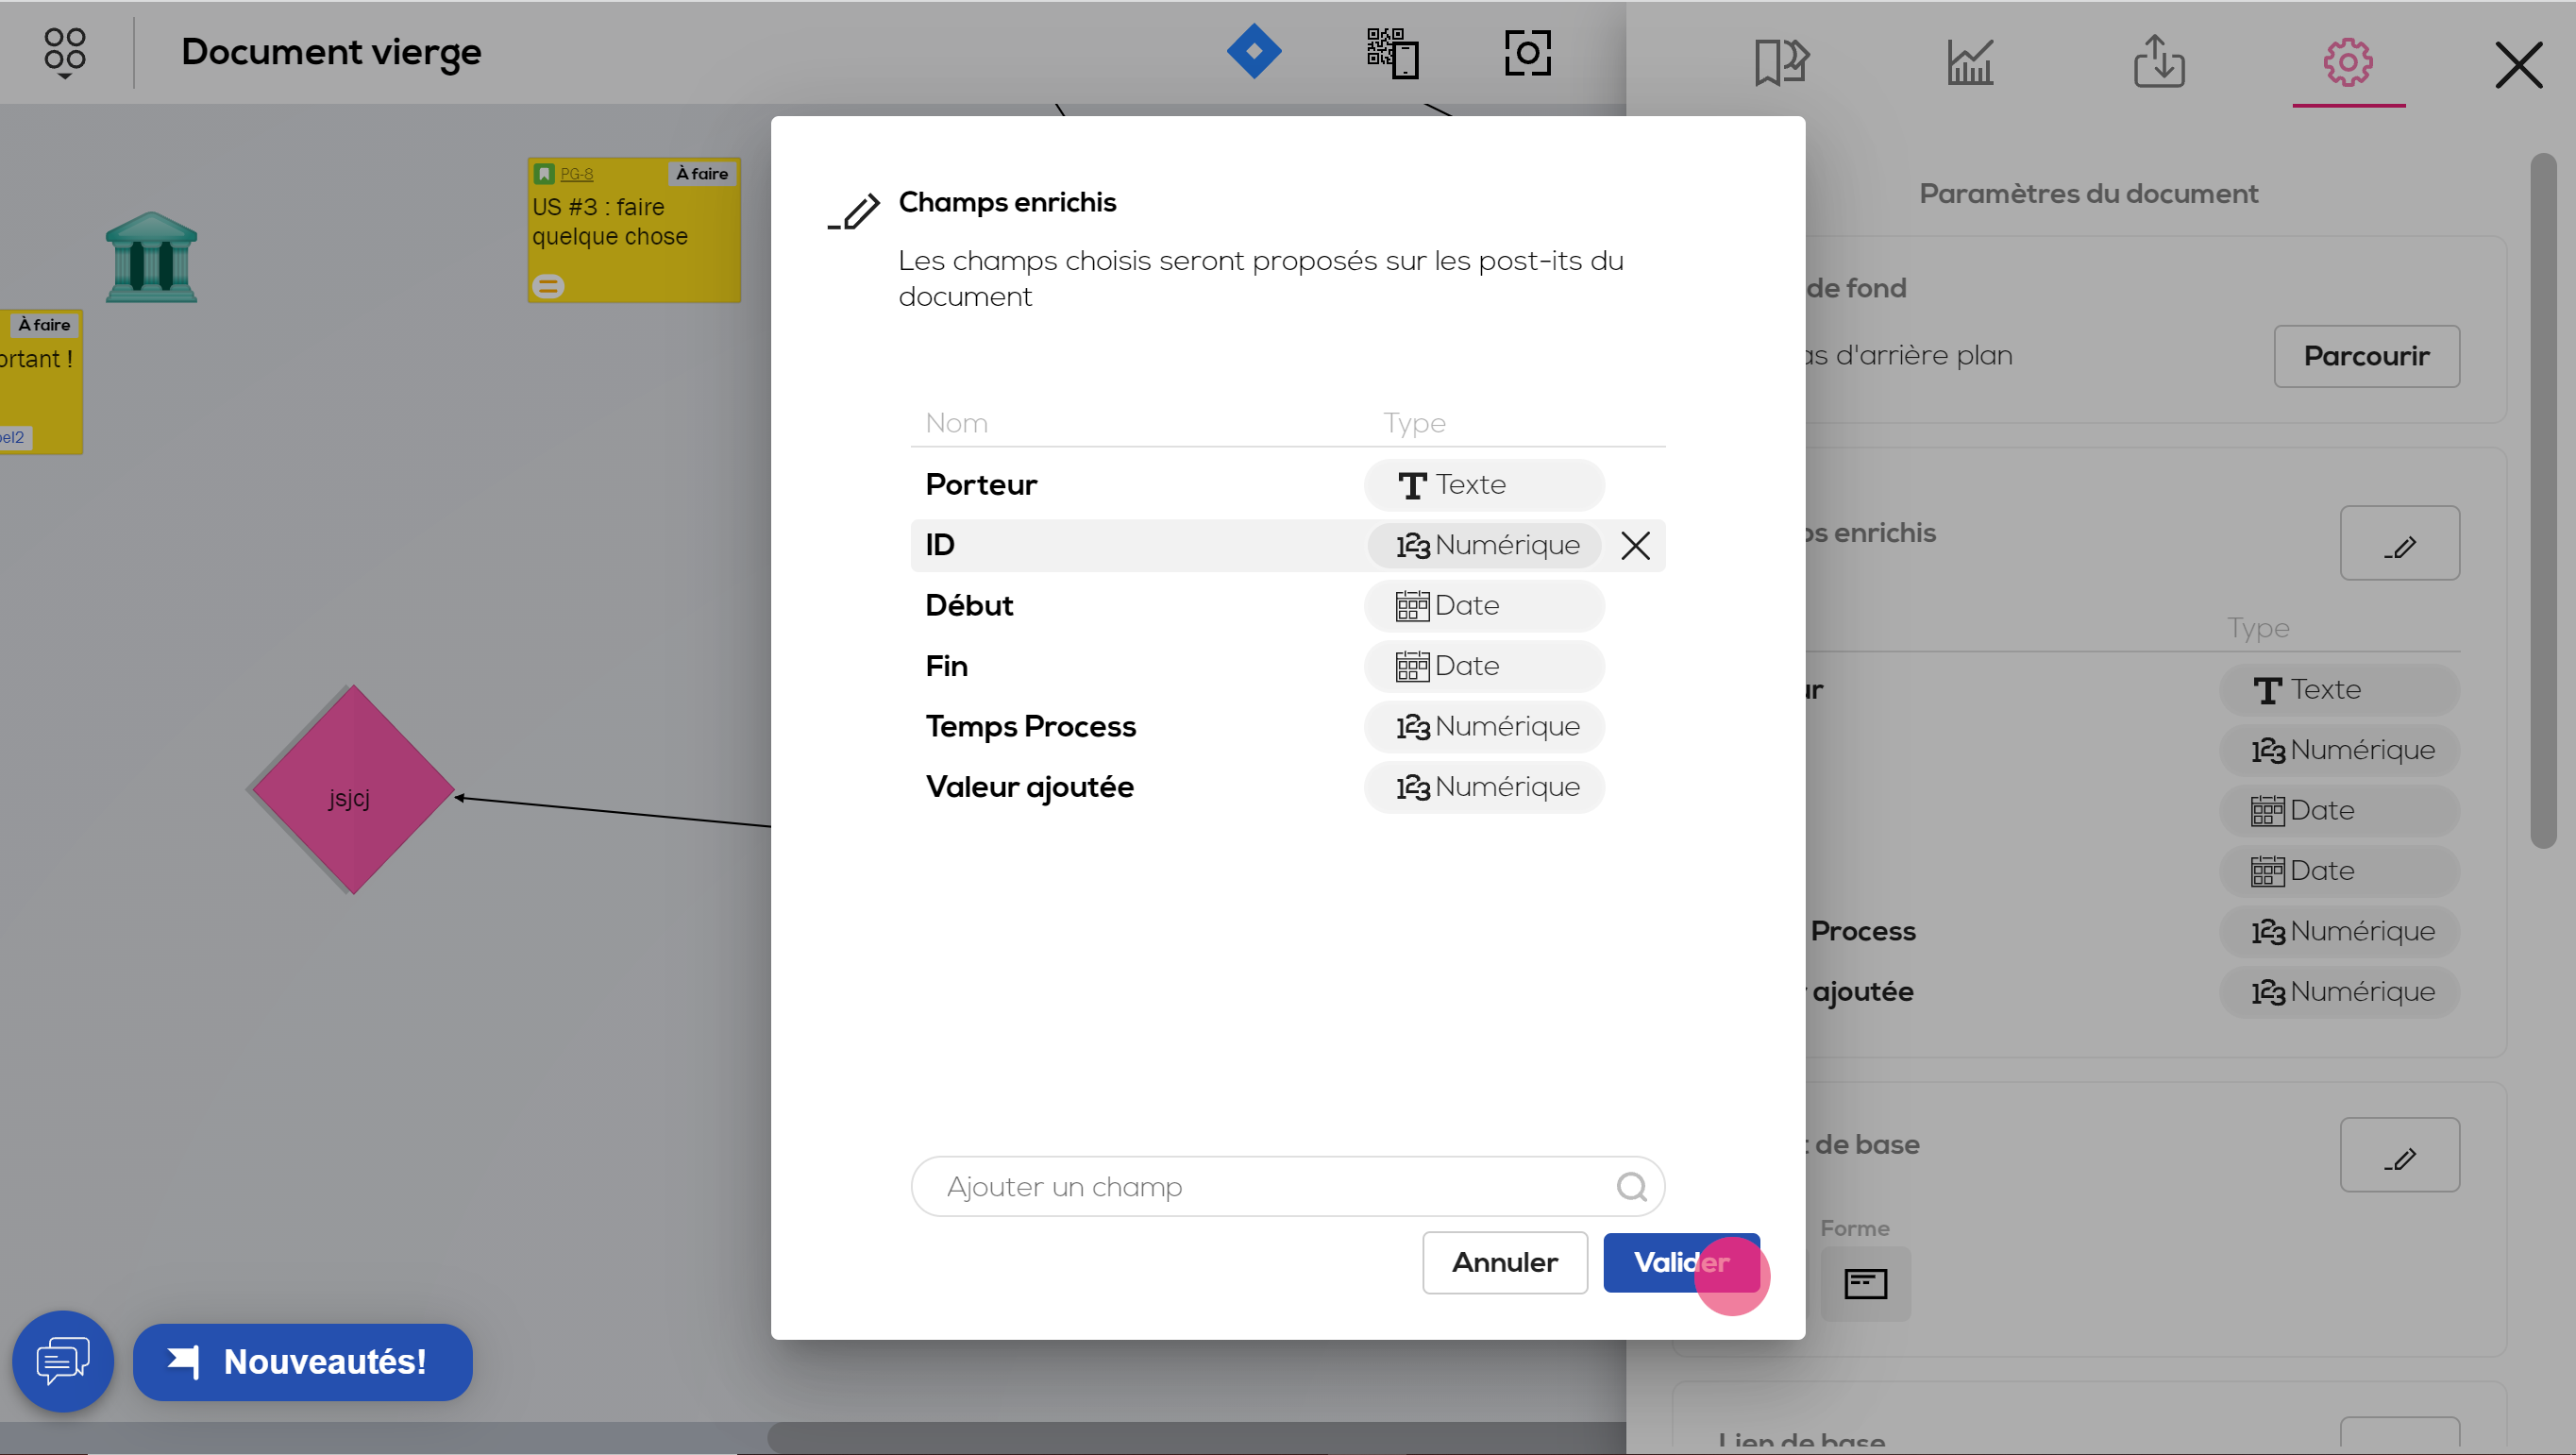
To modify the order of an extended field, click on it and drag it to the desired place. To delete a field, click on the cross next to its name.
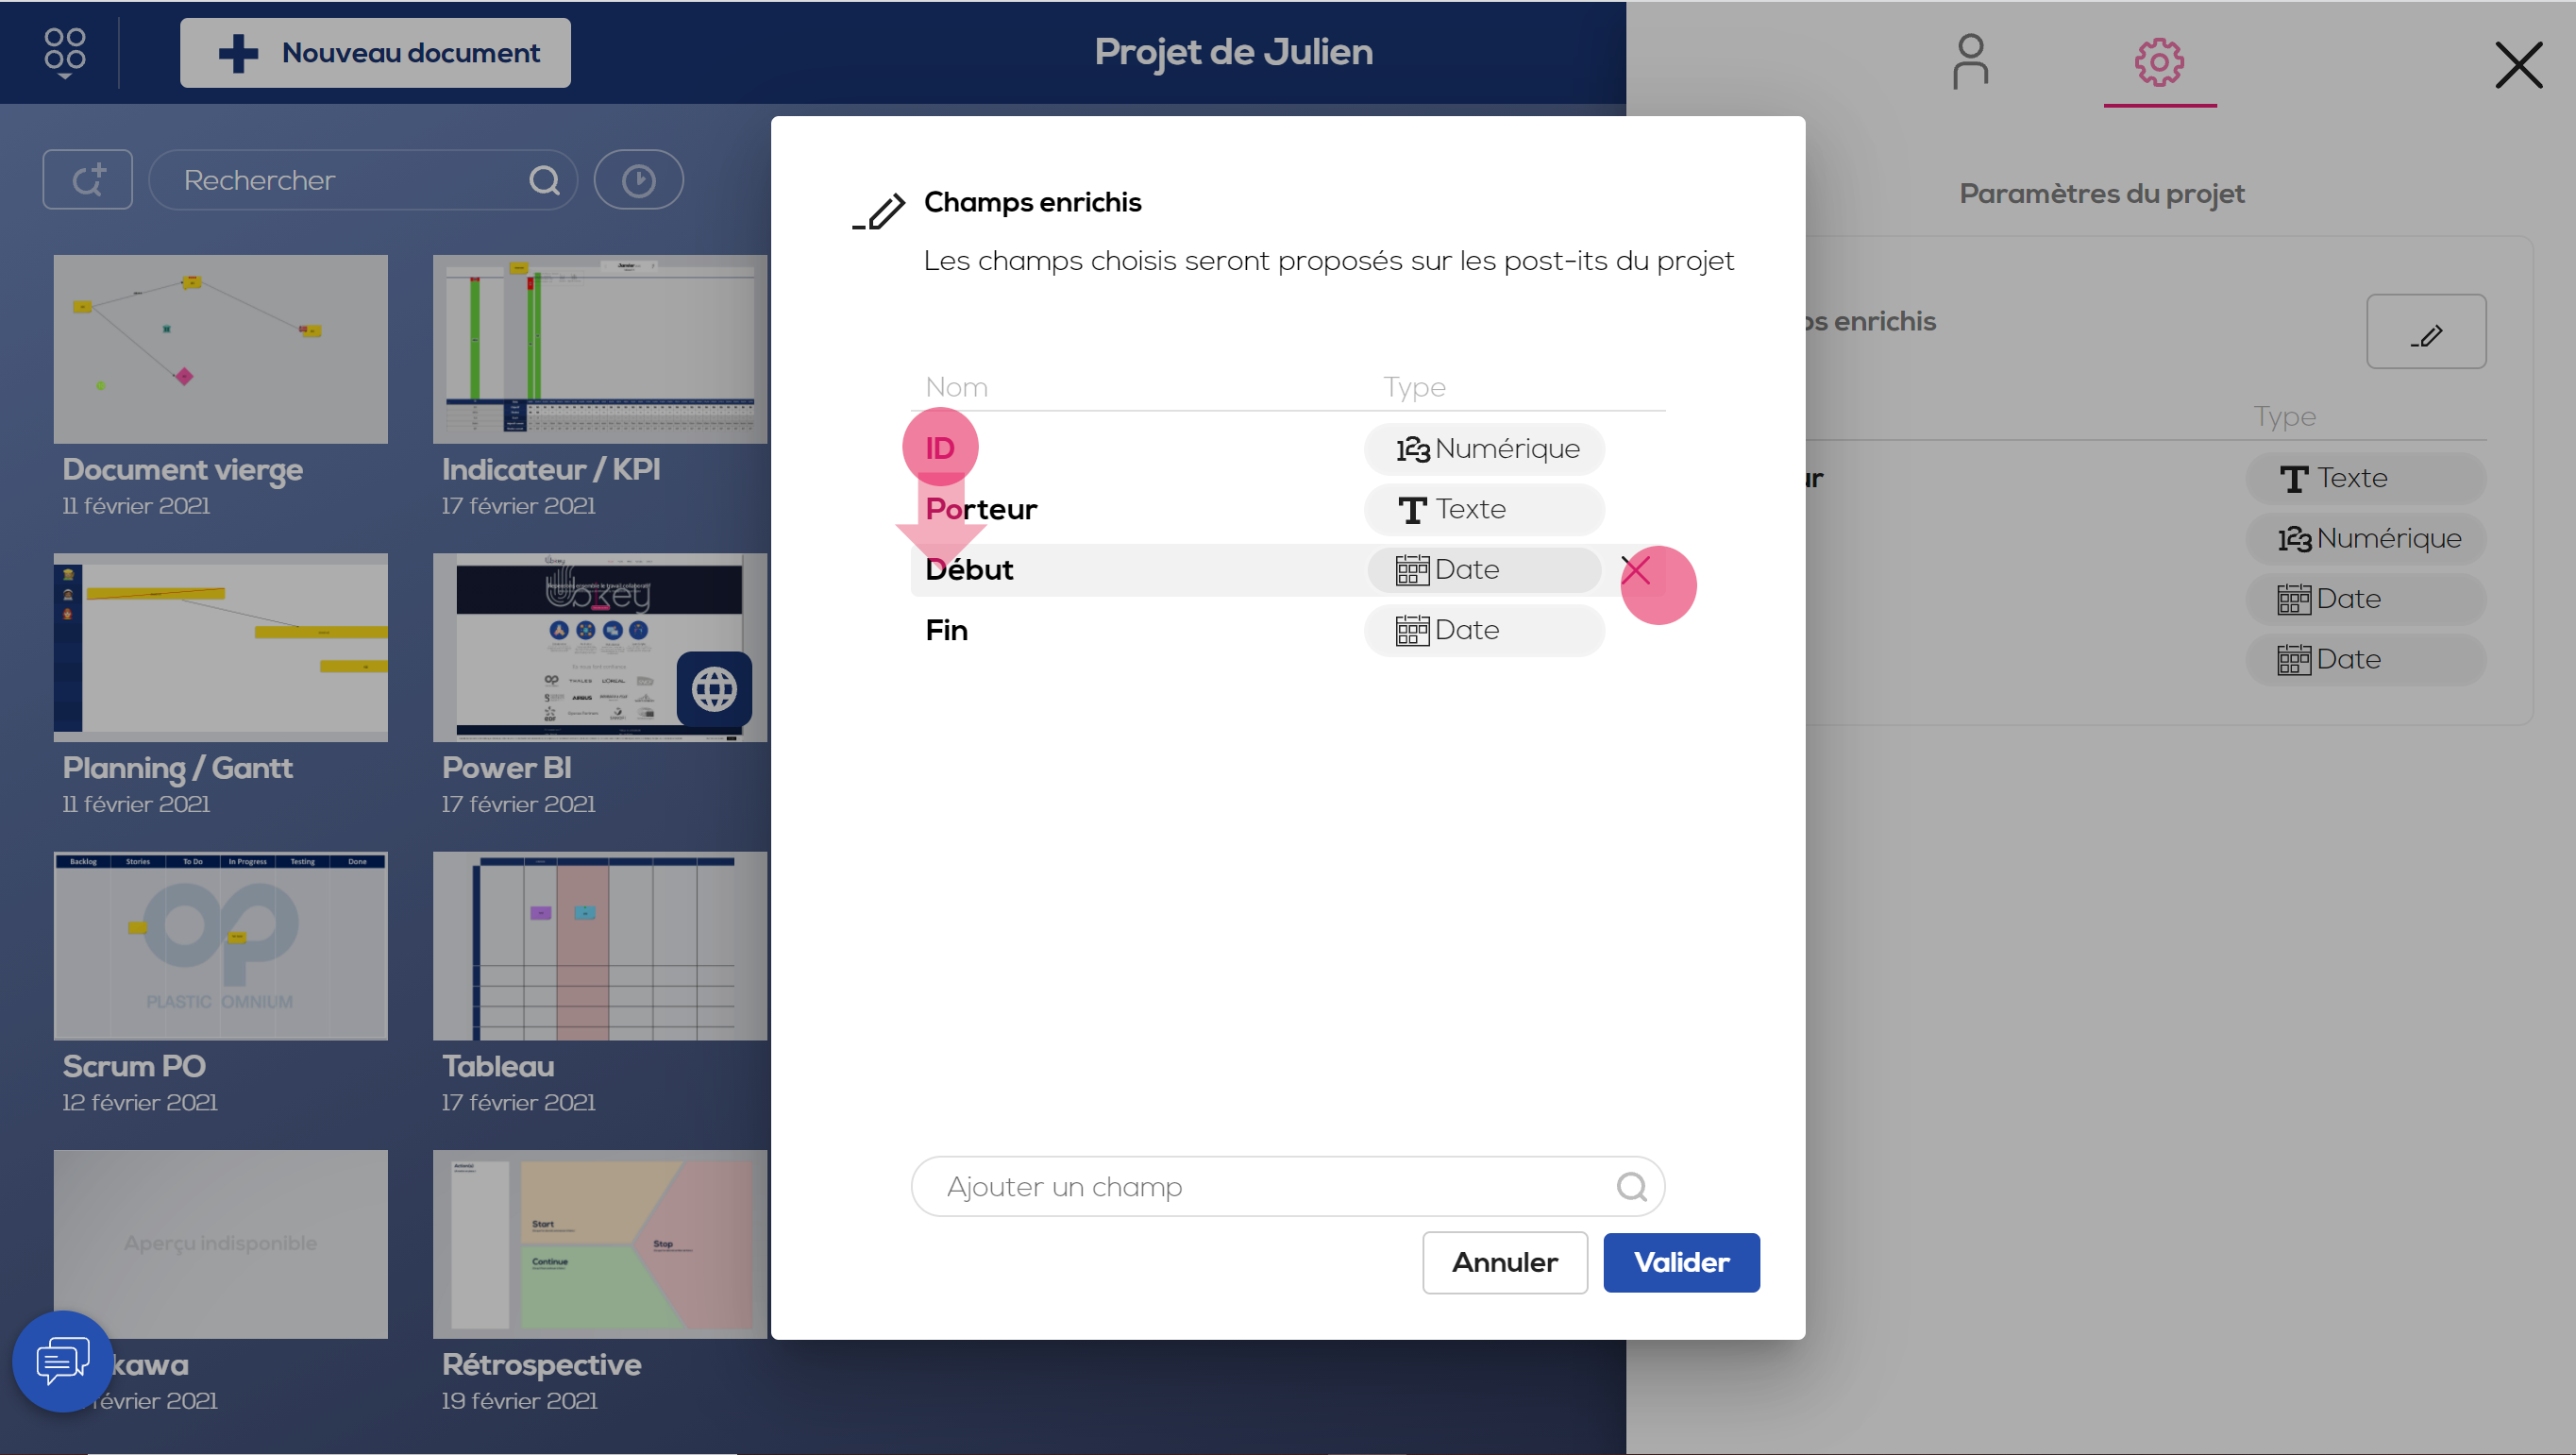
To add a field, enter its name, choose its type and click on “Create”.
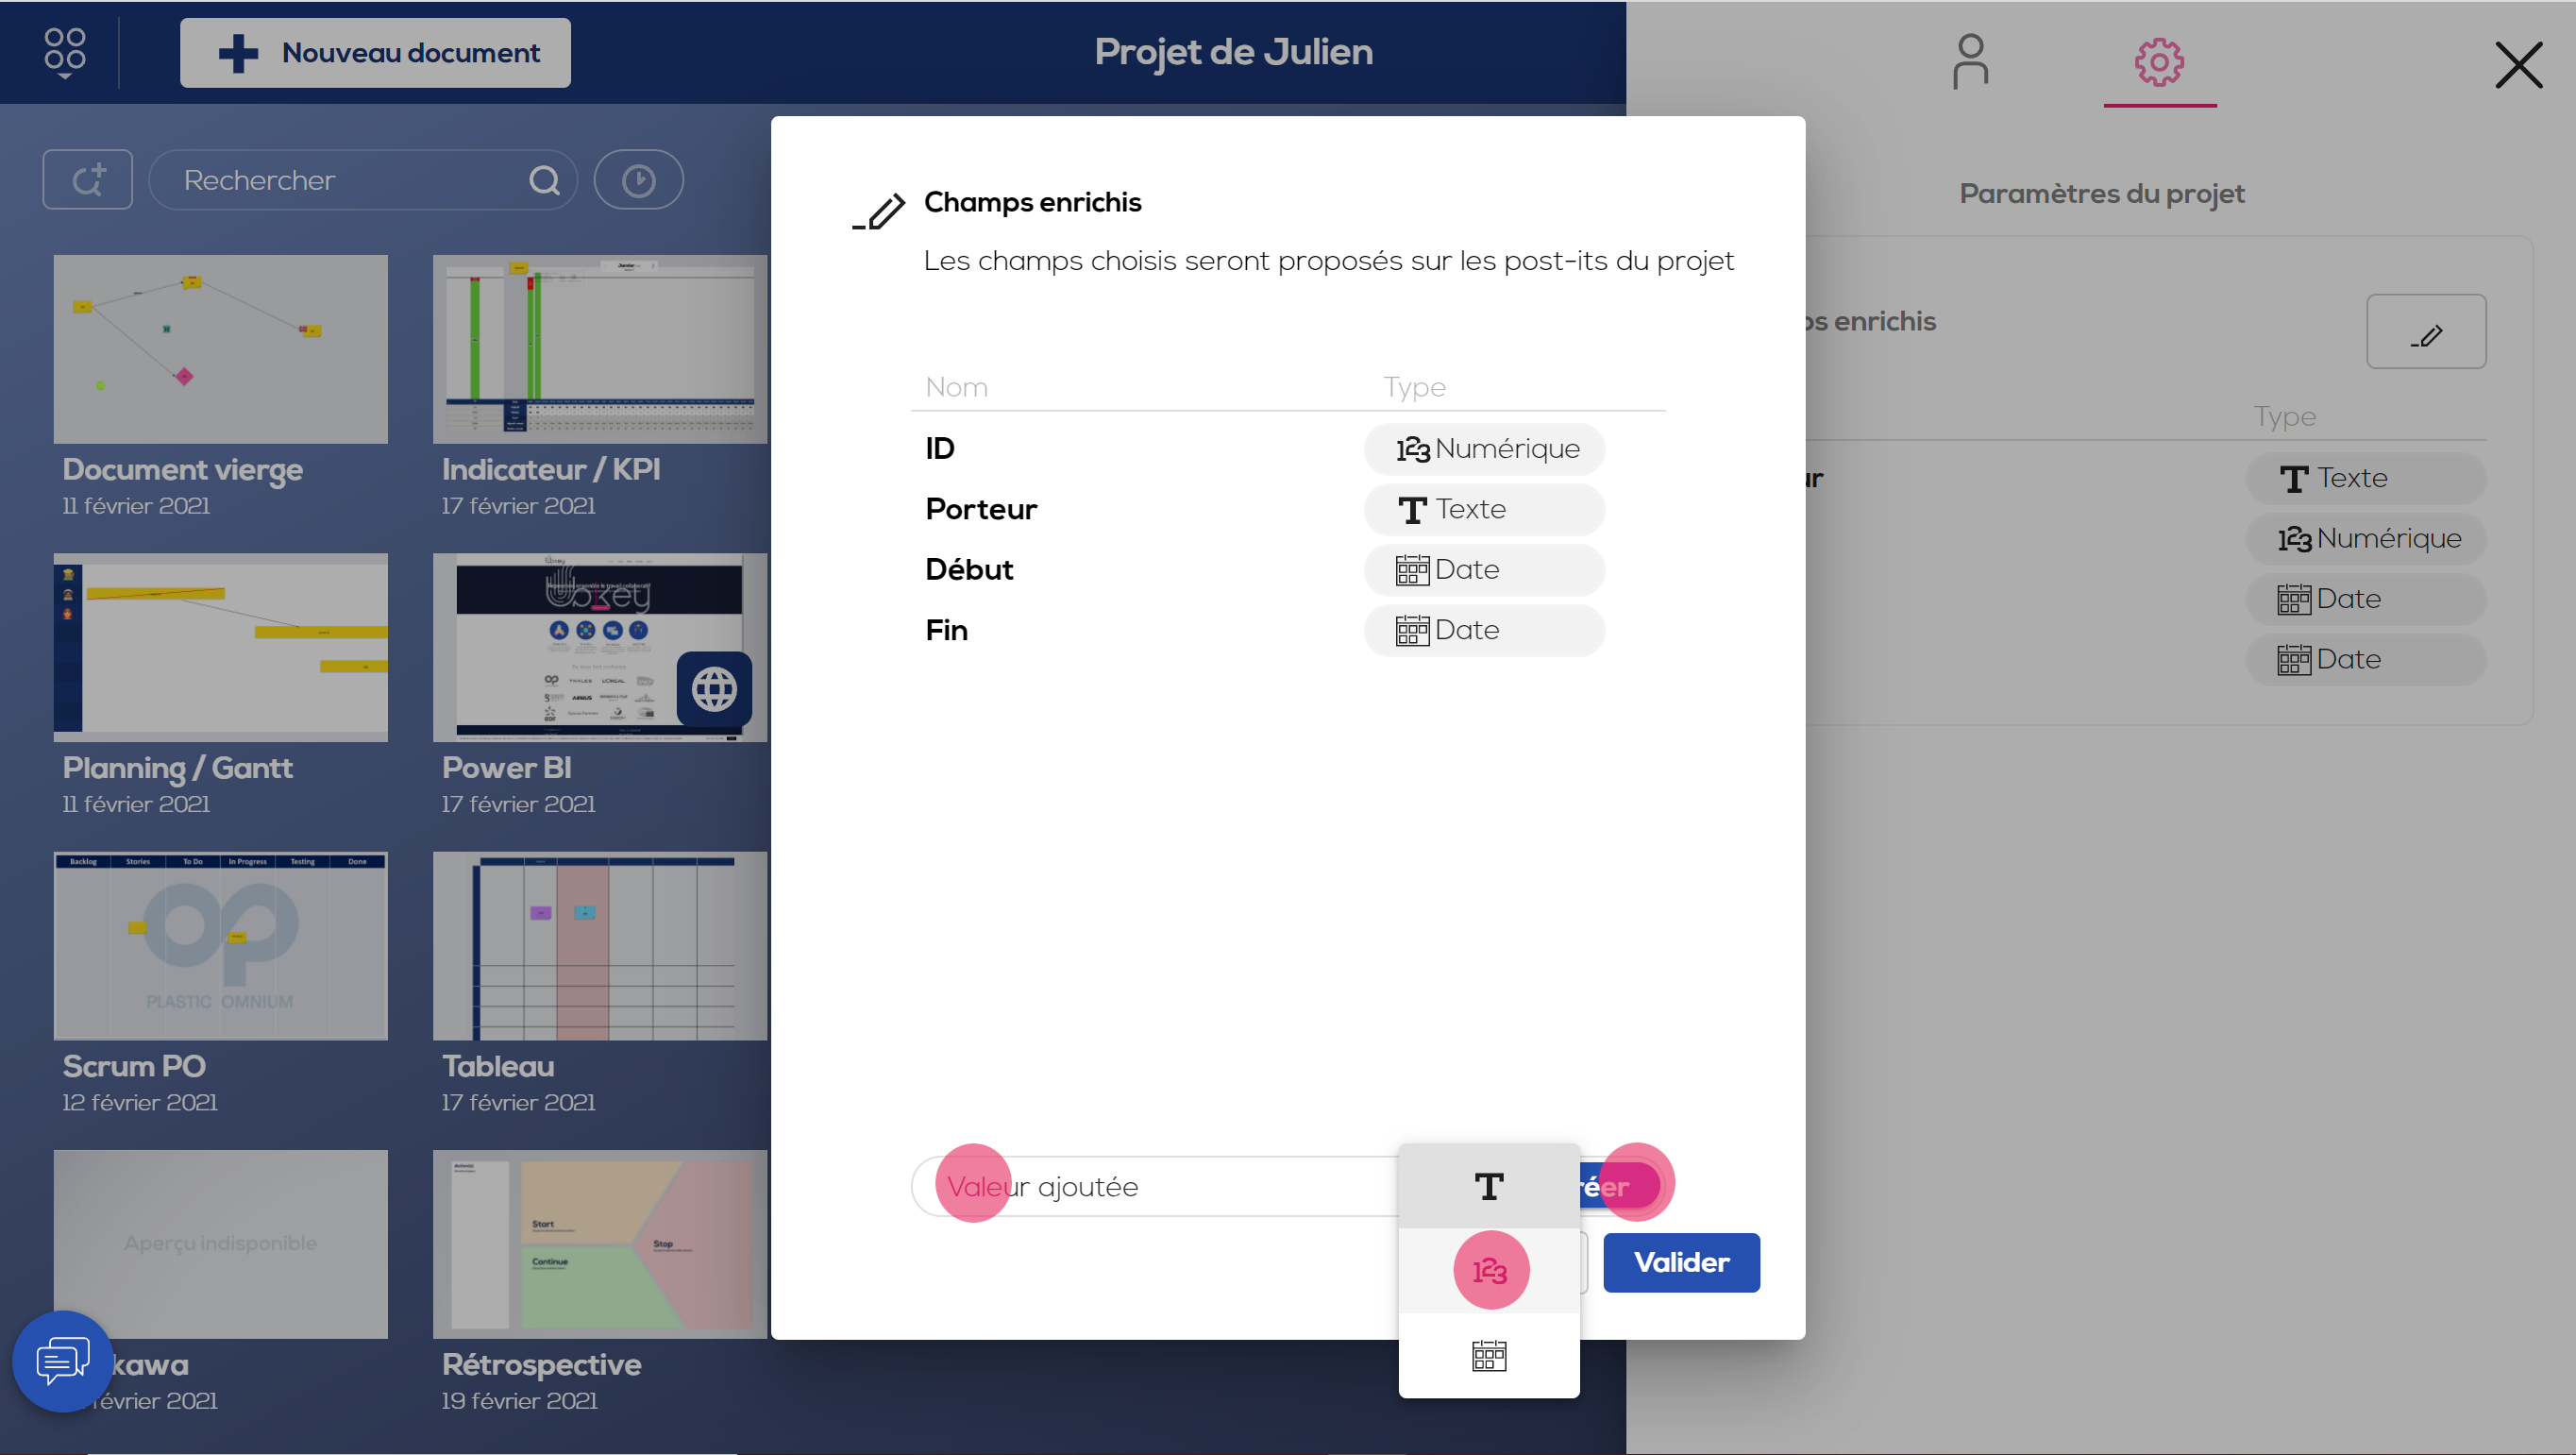
Once the modifications are completed, click on "Validate" at the bottom right.
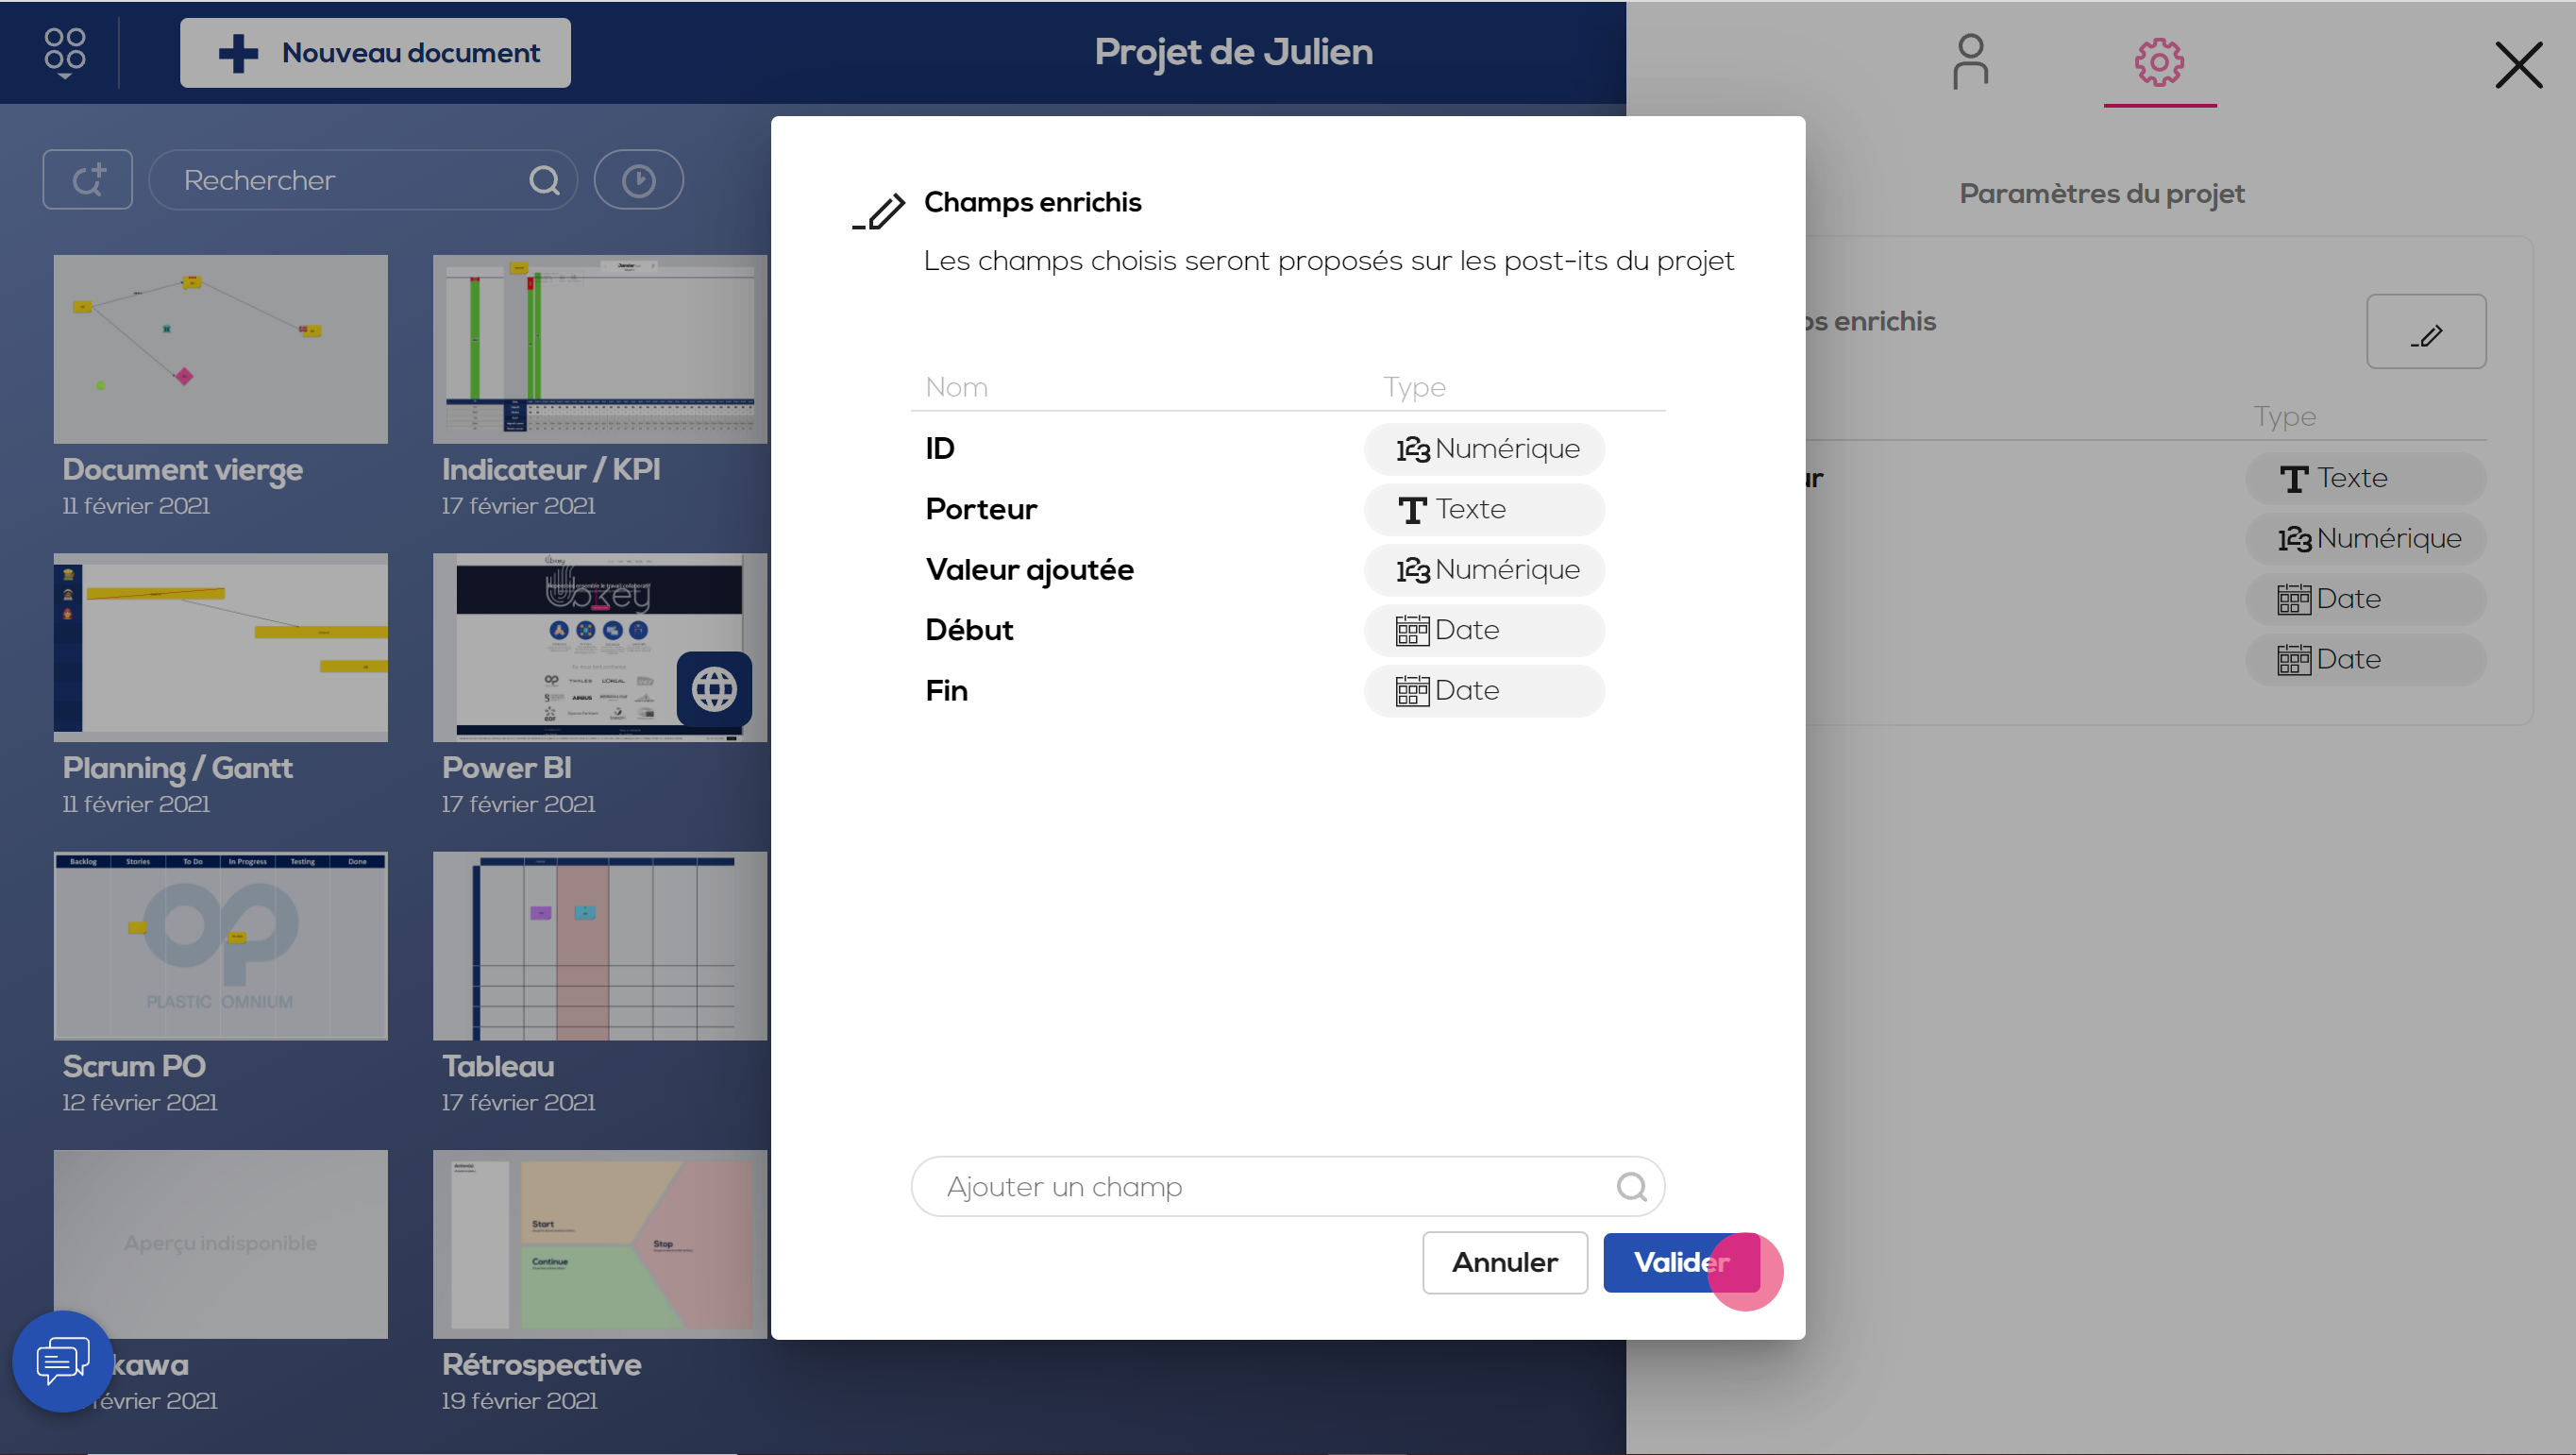
From now on, all new documents created within the project will have these extended fields.
Modify the extended fields at a document level
You can also edit extended fields at a document level. Any made changes will impact existing or future post-its within this document.
If you delete an extended field already filled-in in one or more existing post-its, the information will be kept for those post-its only.
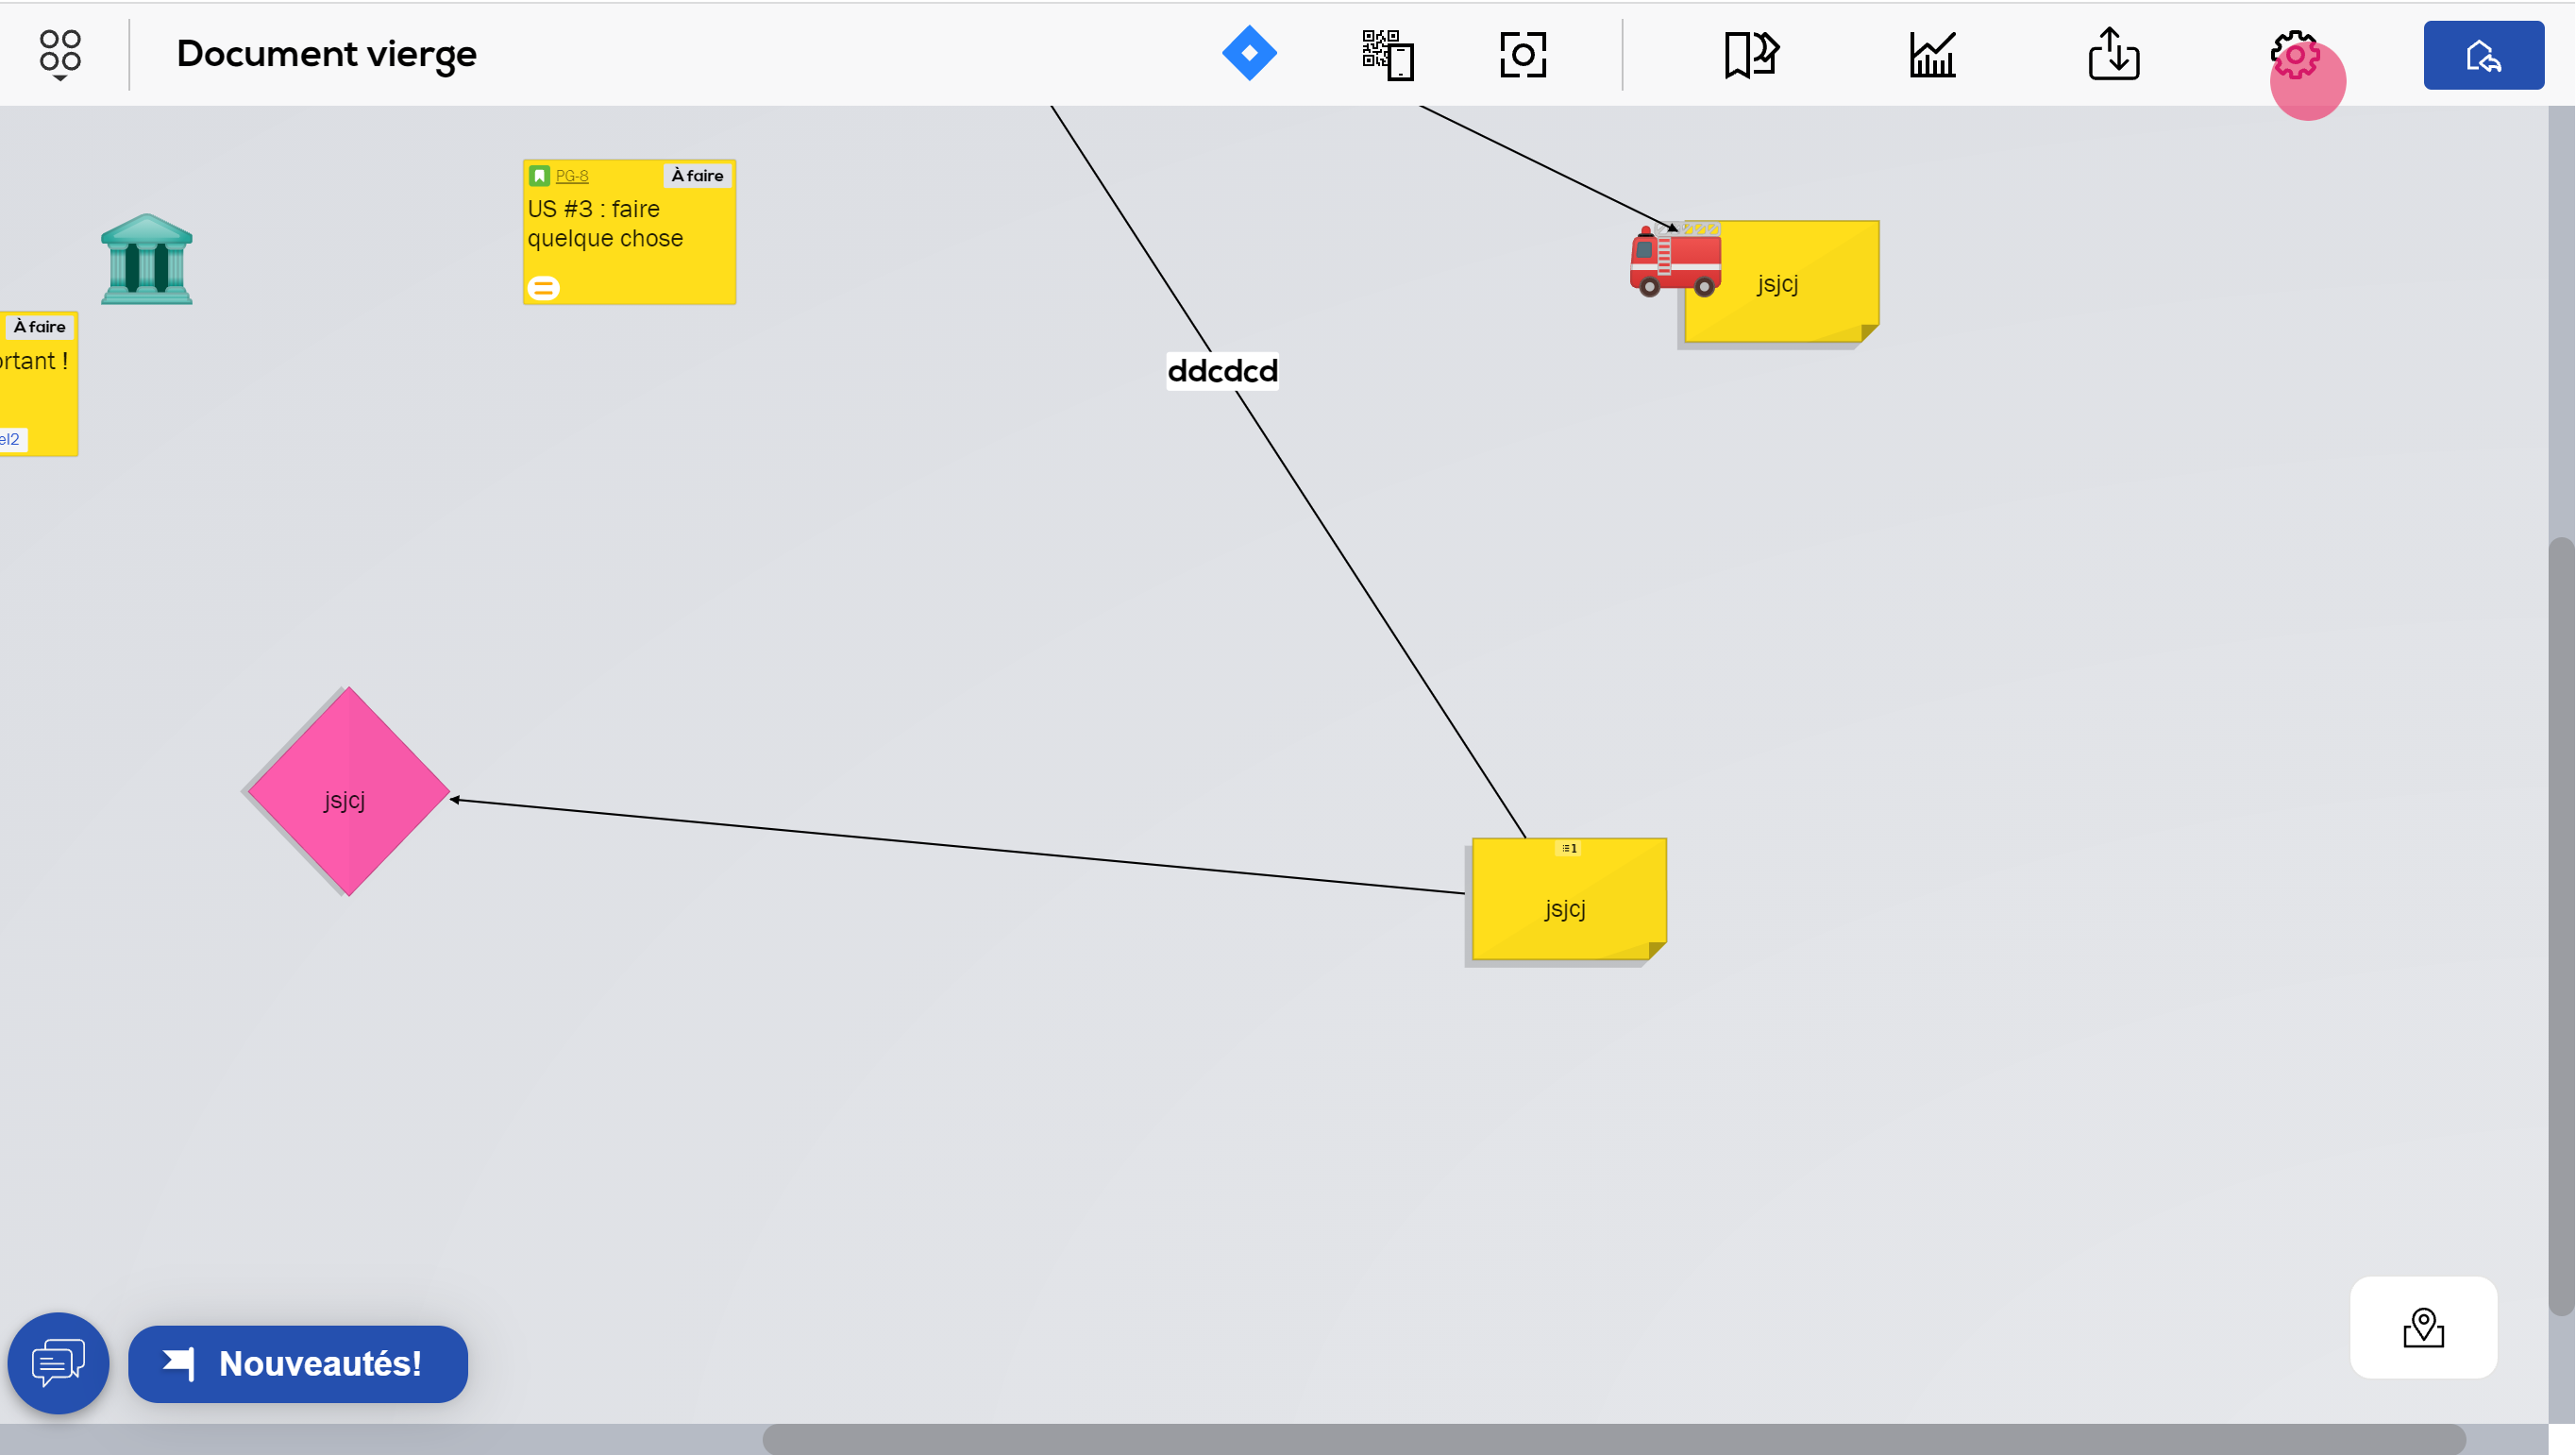
To access the settings for the extended fields of a document, open your document and click on the "Settings" icon at the top right.
Then click the "Edit" icon next to "extended fields".
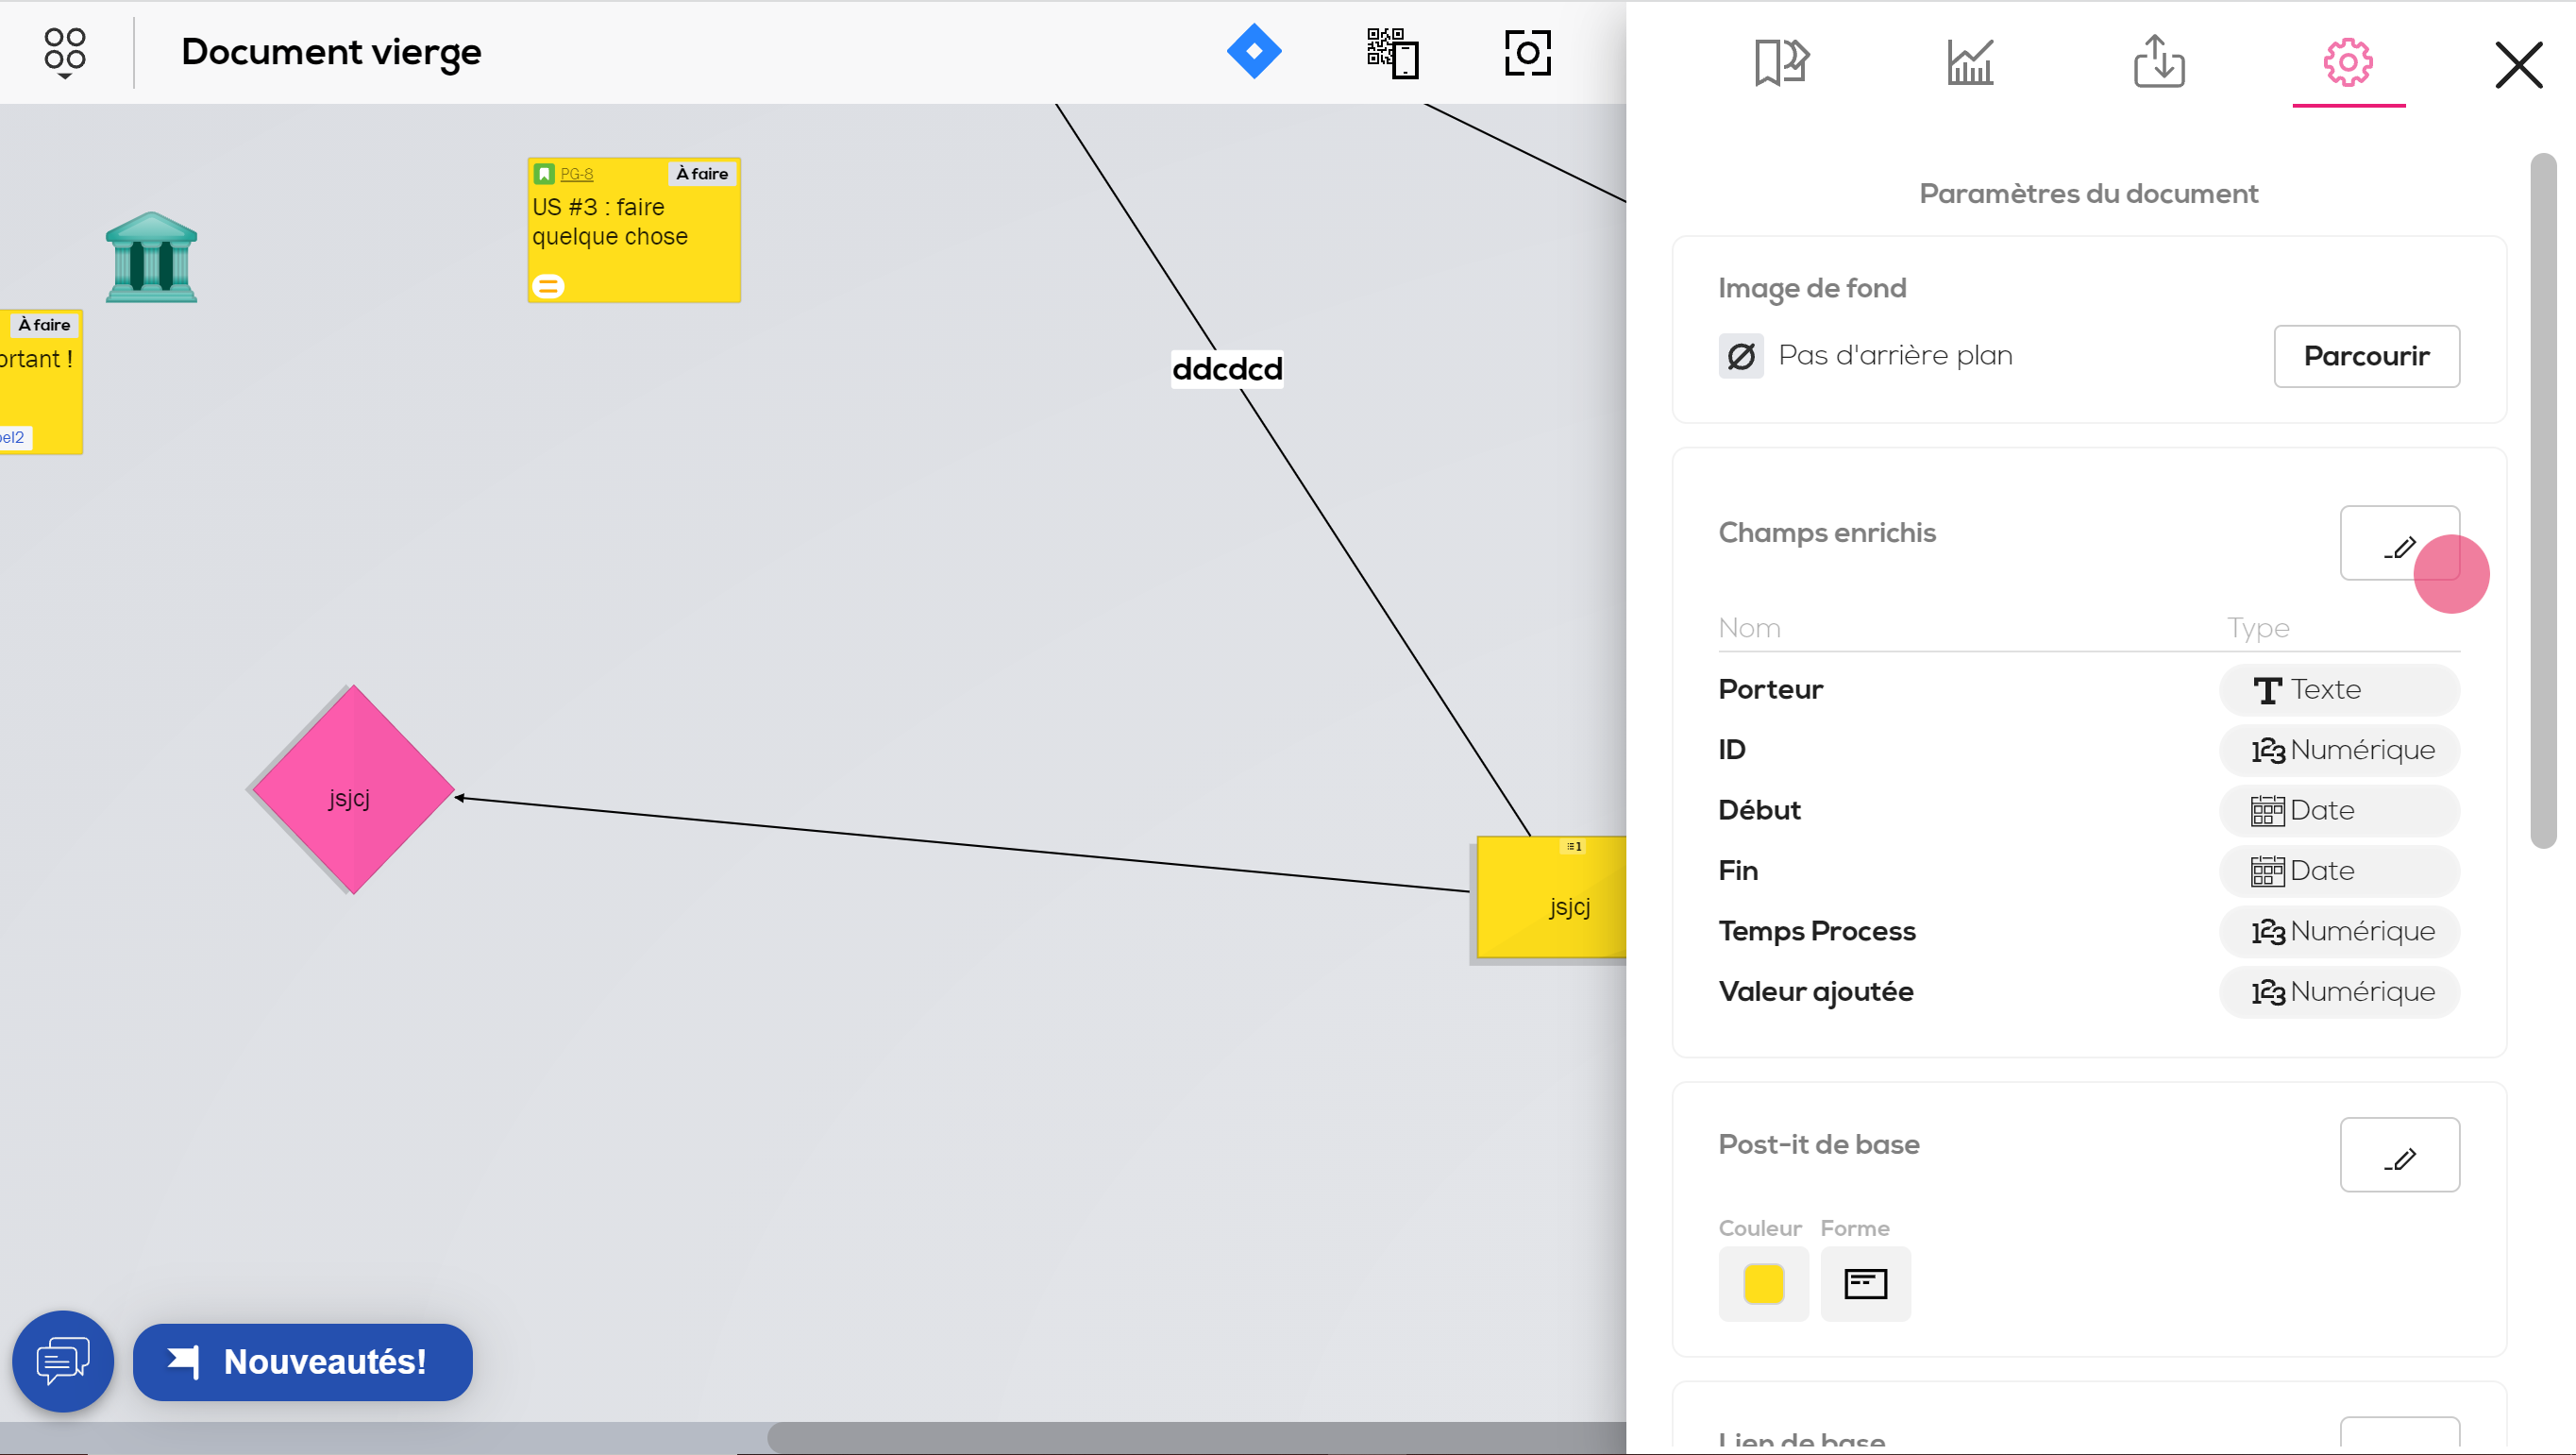
You should see the same window as the one previously described in the configuration of the extended fields at the project level.
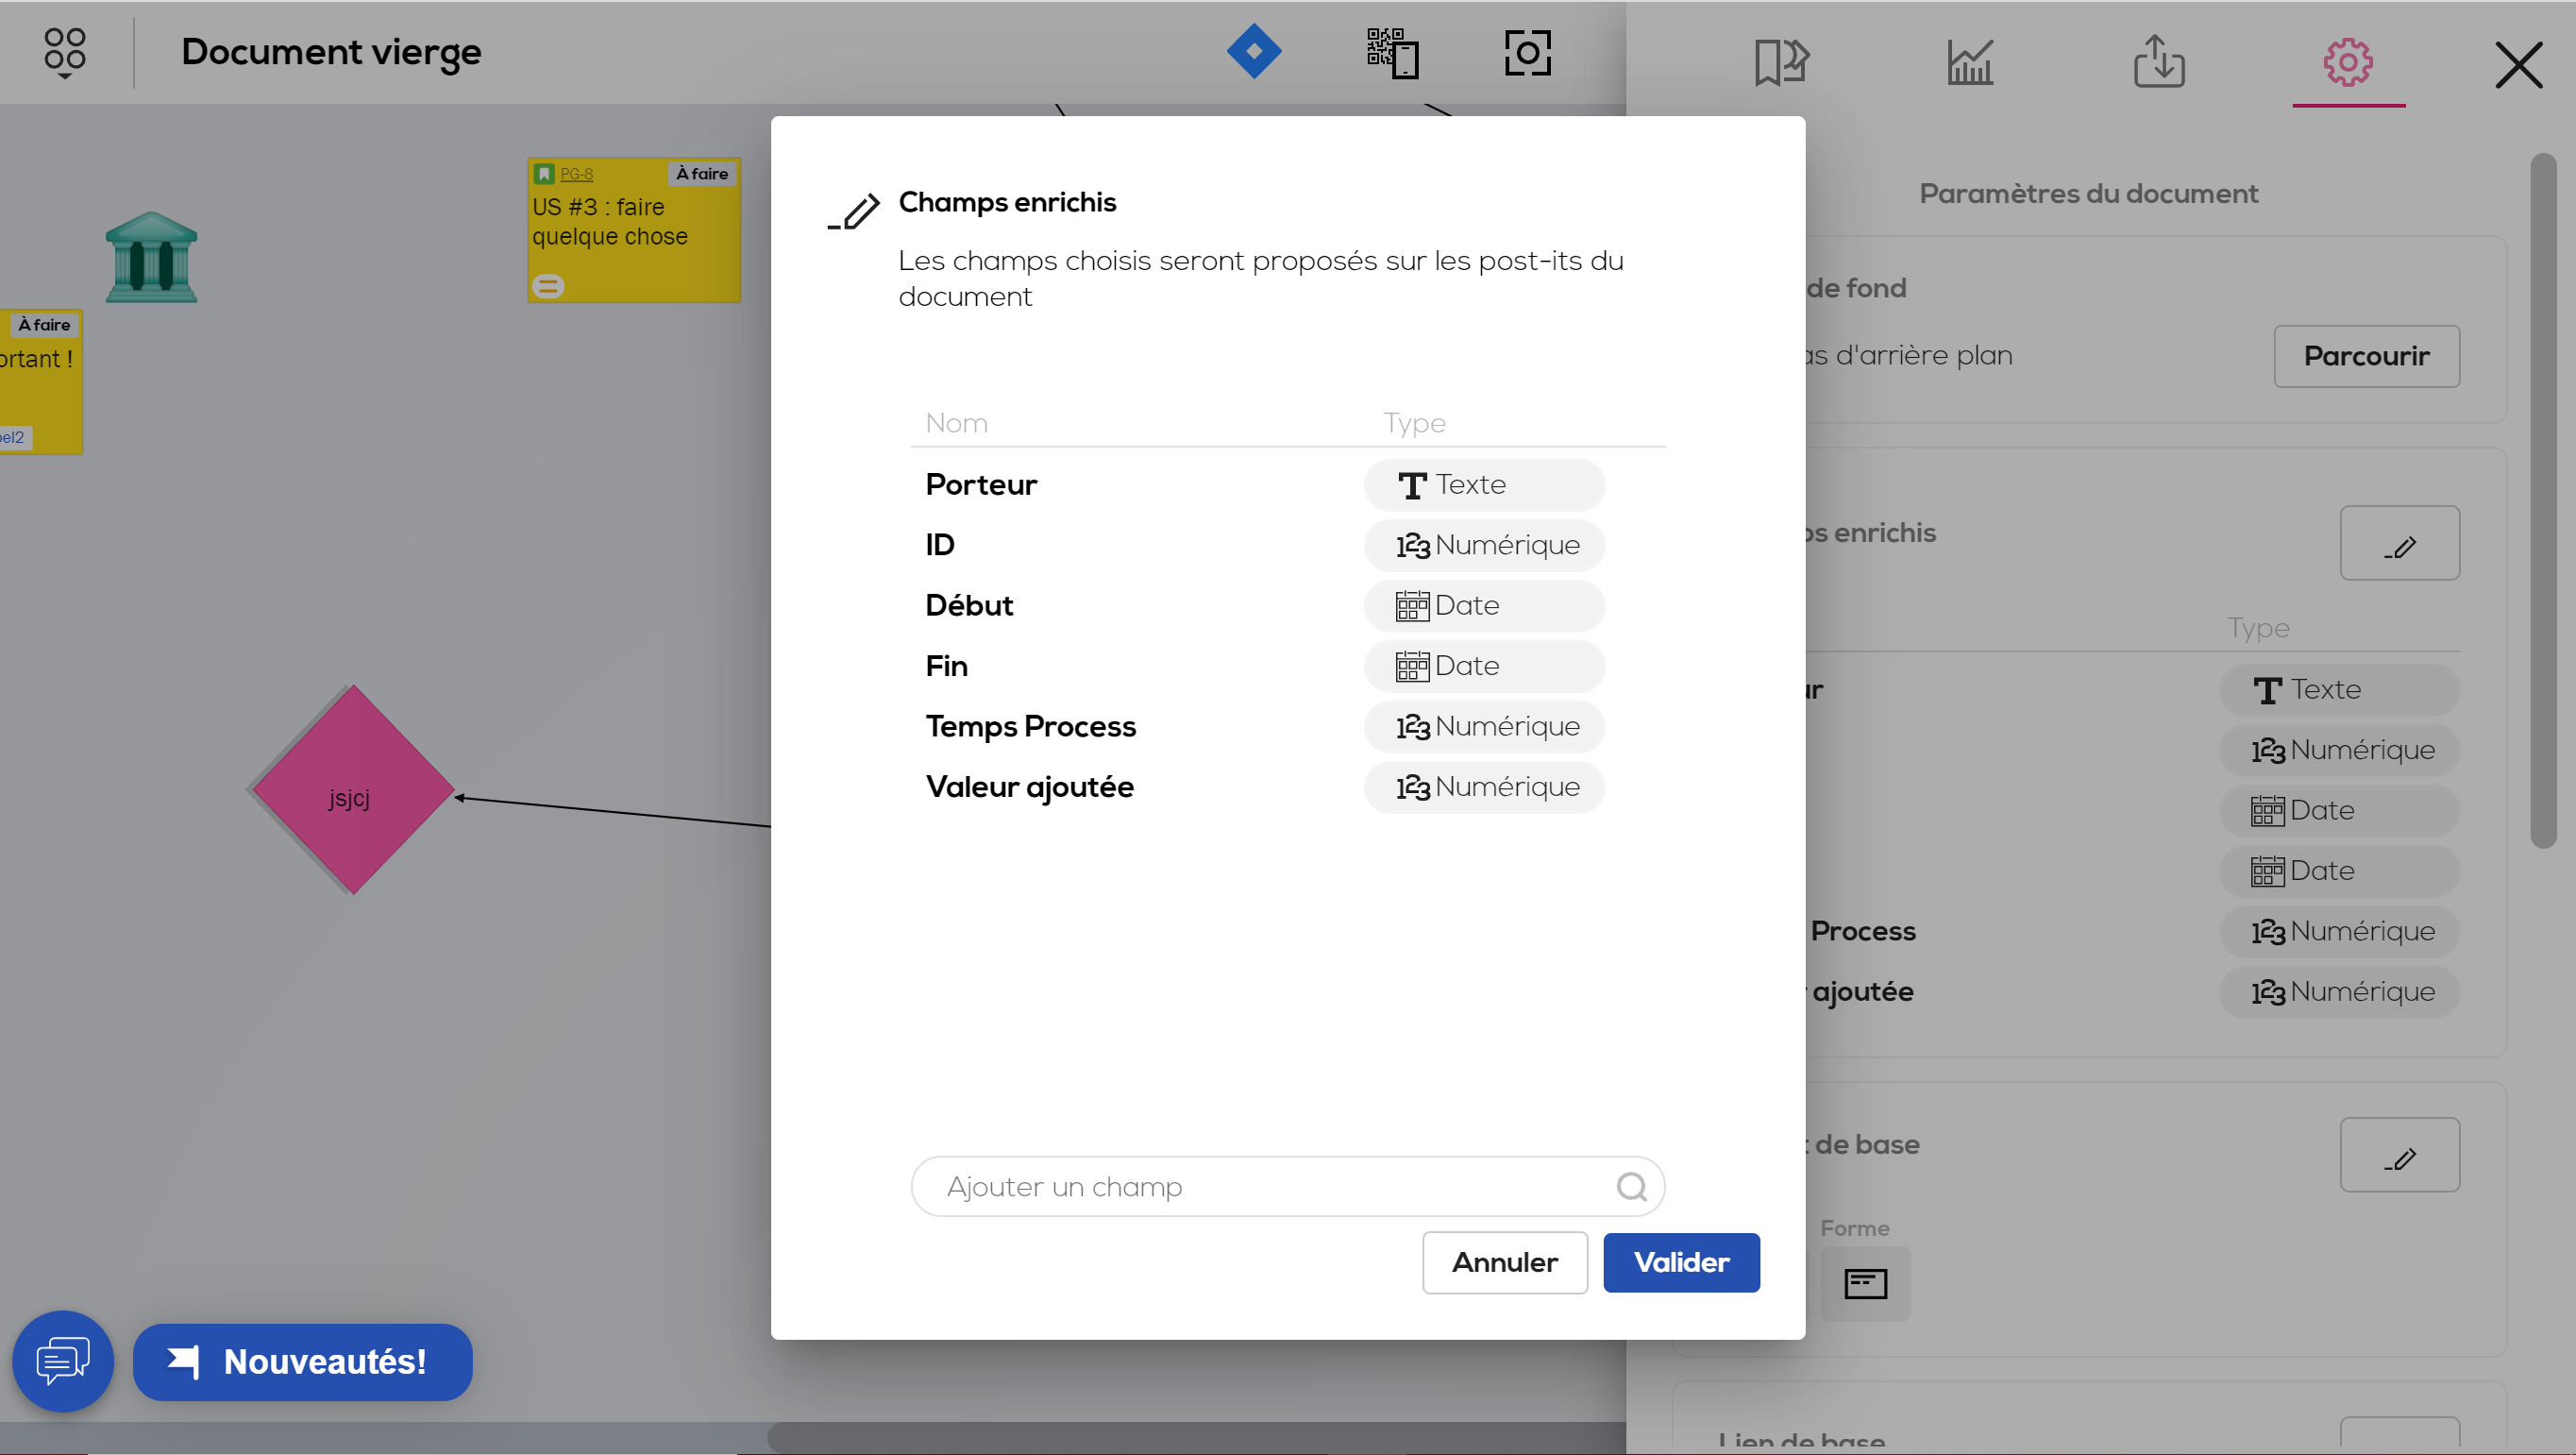
Again, you can change the order of the fields, delete them or add new ones. Click on "Validate" once the modifications have been made.
Added fields will be available within the post-it edition window.